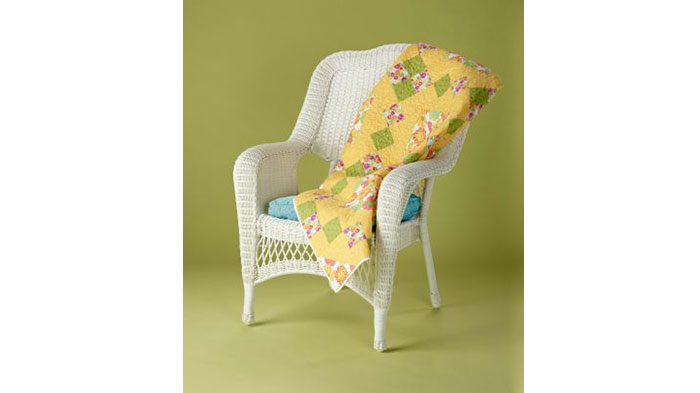
If you're new to quilting or want to learn how to make new types of blocks try this fun and colorful quilt! This quilt features the jewel box block which is a simple contemporary pattern. It's easy to assemble the triangle and four-patch blocks. Download printable instructions.
Estimated Quilt Size 48” x 48
Materials:
- Madeira Aerofil all-purpose thread preferably a neutral color to blend with your background fabric of choice
- 1 ½ yard 60” wide for backing and binding
- 1 ½ yard of yellow dot print for background
- 1 yard of large floral print
- 1 yard of green cotton print
- 1 yard of small floral print cotton
- Twin size cotton batting
- Quilt spray adhesive (optional)
- Rotary cutter mat and ruler
- Iron and Ironing board
Tools:
- Baby Lock Sewing Machine
- Accuquilt GO! Fabric Cutter
- Accuquilt GO! Triangle-6 1/2" (55001)
- Accuquilt GO! Square-3 1/2" (55006)
Steps:
-
Using the Accuquilt Go Cutter cut triangles from the large floral print and the background yellow dot using the 6 ½” triangle die.
-
Using the Accuquilt Go Cutter cut squares from the small floral print green print and background yellow dot fabrics using the 3 ½” block die.
-
You will need enough squares to complete 32 four-patch blocks.
-
-
Thread your machine with Madeira Aerofil thread.
-
Once the pieces are cut stitch the triangle pieces together using the preset quarter-inch piecing stitch. Press the blocks.
-
-
Construct the four patch blocks.
-
You can use the knee lift to raise the presser foot so you can keep your hands on the fabric and position the next block.
-
You can also raise the presser foot while keeping control of your fabric using the advanced pivoting function if your machine has this feature.
-
-
When all the simple blocks are finished. Sew them together. Two four patch blocks and two triangle blocks create a larger block.
-
Four larger blocks sew together create one Jewel box section.
-
Four Jewel box sections sewn together form the pieced top for this Spring Quilt.
-
Note: to make a larger quilt continue this process to add more blocks and sections.
-
-
Once the pieced top is completed it is time for the quilting.
-
Use your walking foot to stitch-in-the-ditch free-motion foot to stipple all over or free-motion echo quilting foot to quilt rings around your quilt patterns.
-
-
Another quilting option is to use a Baby Lock long-arm quilting machine.
-
Once the quilting is complete. Square off the quilting removing the excess batting and backing fabric.
-
Cut 2 ¼” bias binding strips from the remaining backing fabric. Sew strips together to create a bias strip long enough for the edges of the quilt.
-
Using a ¼” seam attach the raw edge of the bias to the front of the quilt mitering the corners as you sew
-
Fold the bias to the wrong side of the quilt and tack the edges down by either hand stitching or using a machine and a blind stitch.


