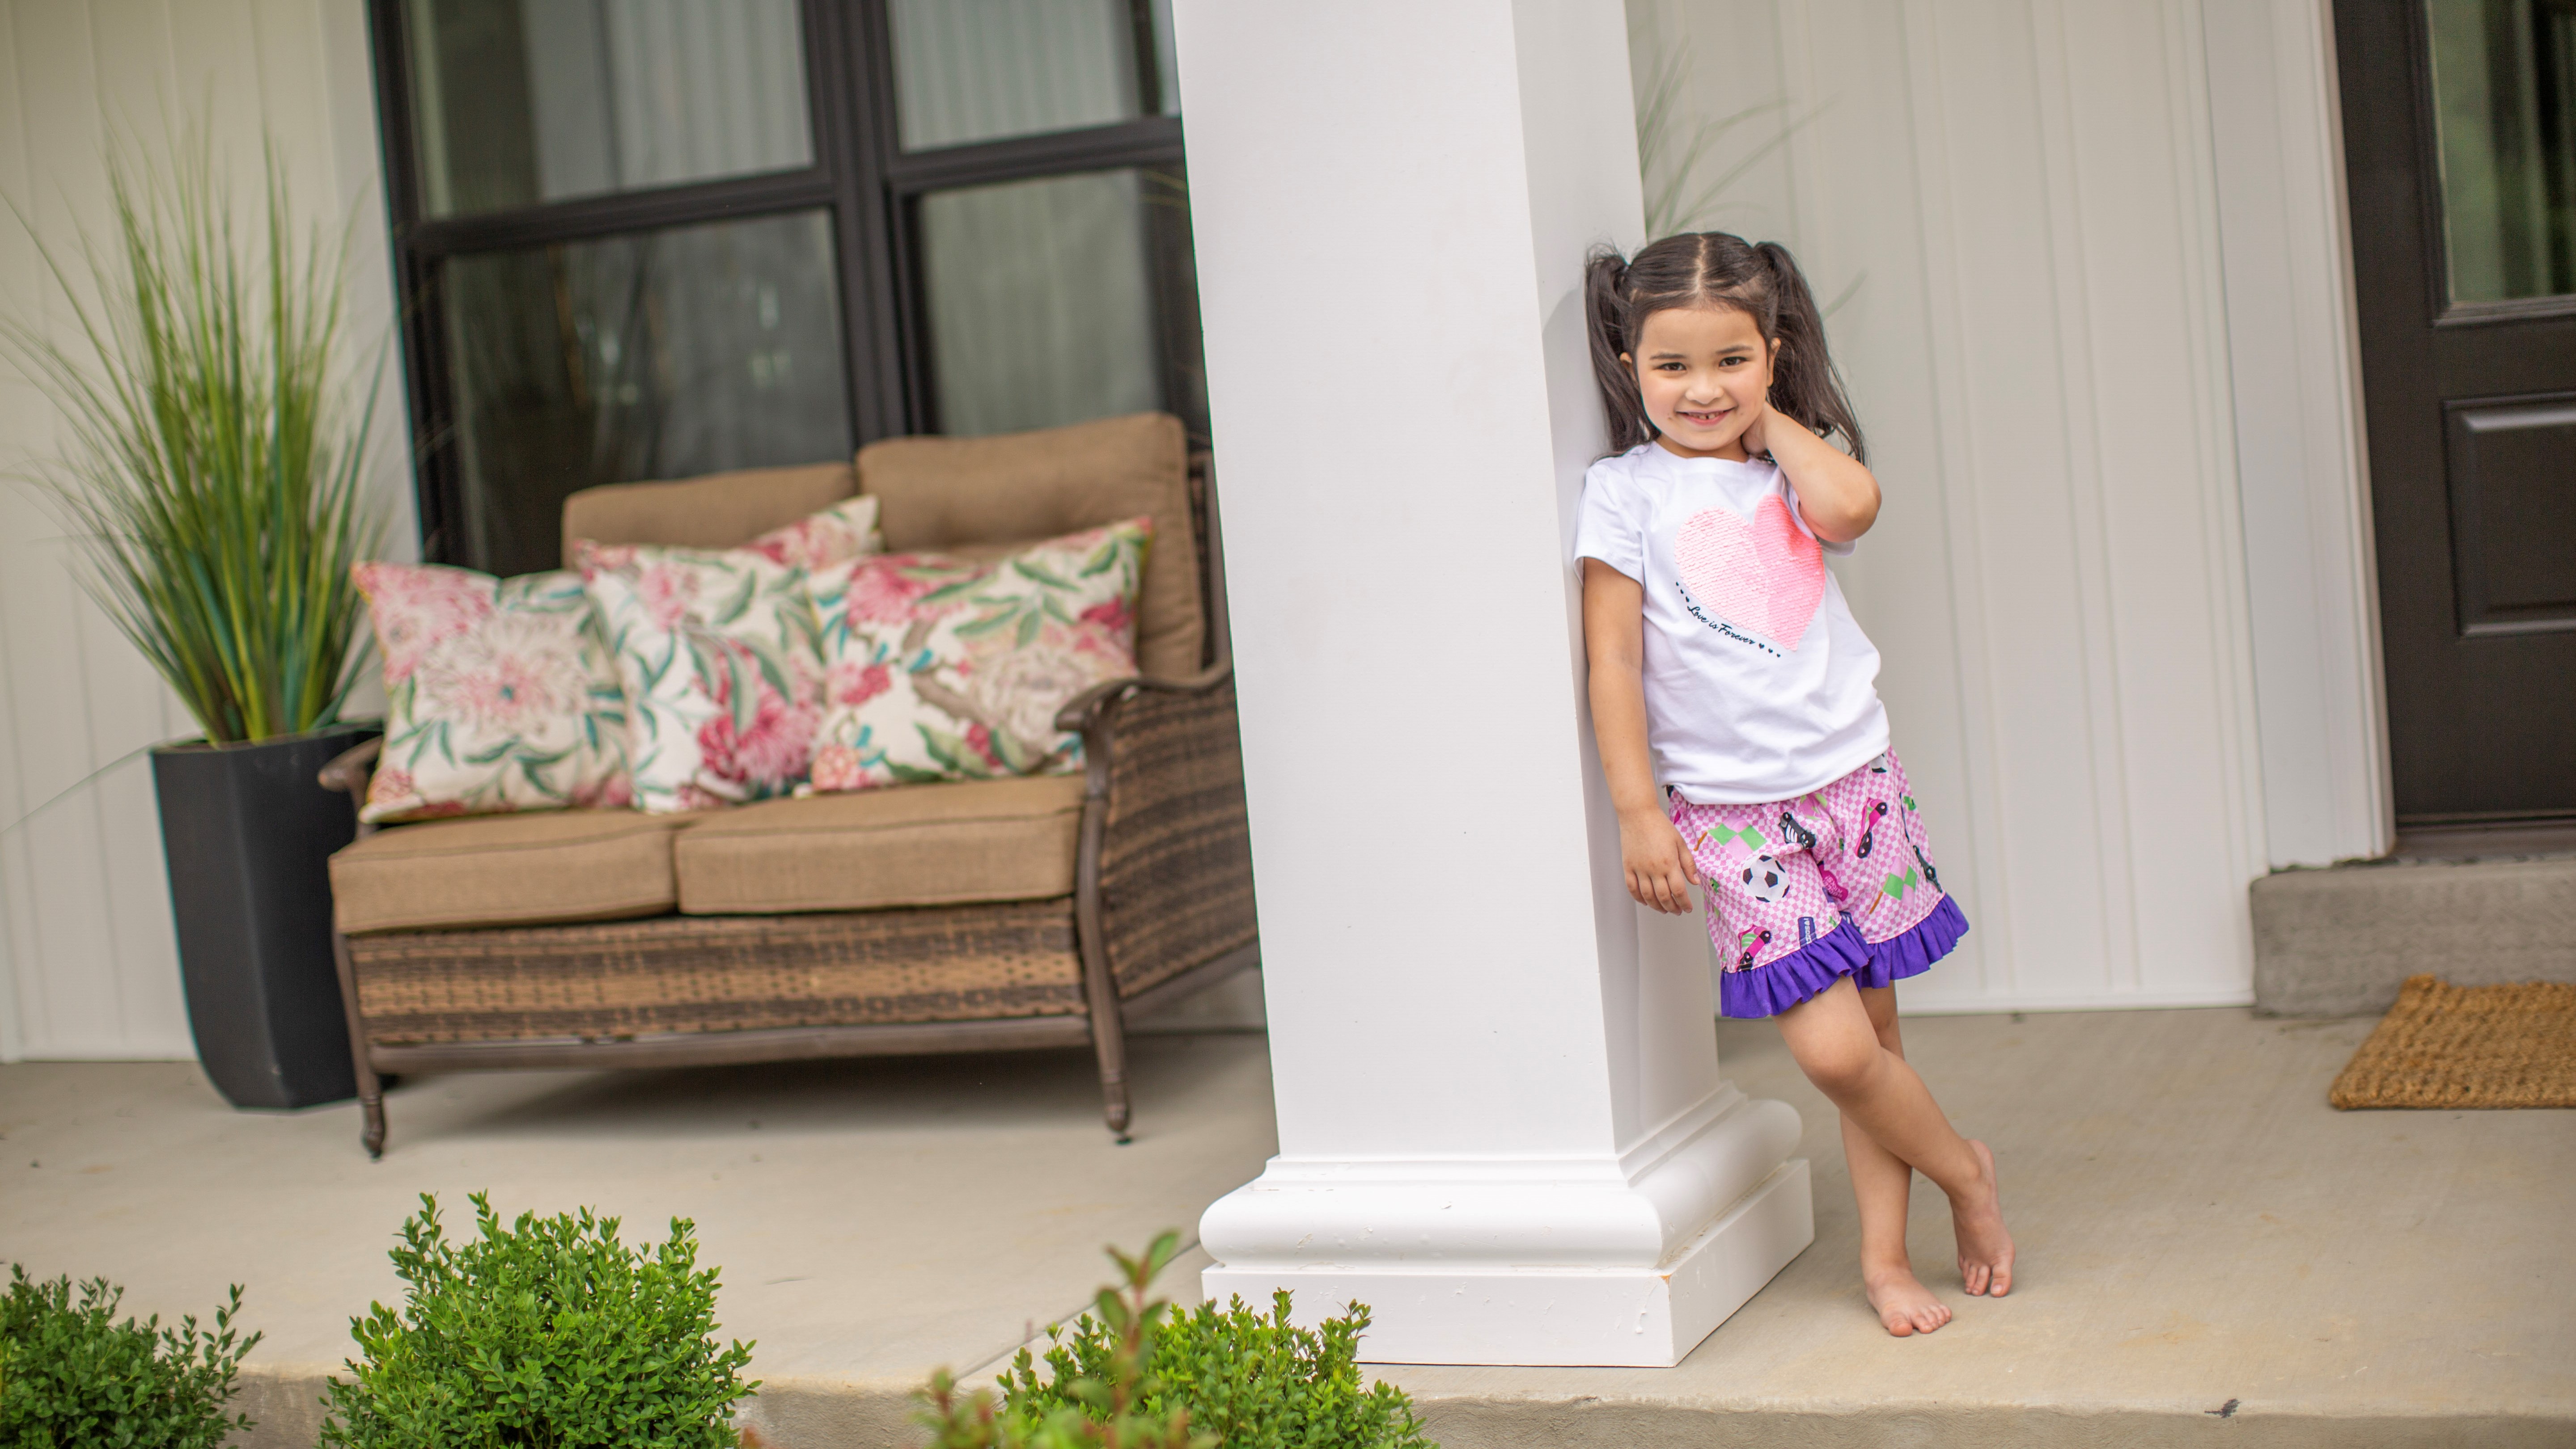
If you know a soccer player with a feminine flair make these ruffled edge pajama shorts! Comfortable cute and with a bit of pizzazz these jammies will be the envy of any team slumber party. Make this simple project with your soccer star on your new Baby Lock Zeal! Download printable instructions.
Materials:
- 1 pair of kid shorts used to create the pattern
- 1 Yard of soccer print for shorts
- ½ Yard of contrasting print for hem ruffle
- Madeira® Cotona thread for sewing
- ¾” Wide elastic
- Frixion marking pens or chalk
- Basic sewing supplies
Tools:
Steps:
-
The first step is to determine the size your shorts will need to be. Follow the next set of cutting directions to cut out the shorts from the main fabric:
-
Take the shorts that are the perfect size and fold them in half.
-
Lay your fabric right side out on a flat surface.
-
Lay the folded shorts on top of the fabric.
-
Using a marking pencil or chalk trace around the shorts allowing a ½” seam allowance. For the waistband trace the outline 2” above the waistband.
-
If your shorts have an elastic waist band stretch them to their fullest width.
-
Cut out the first two sections.
-
Use the first two cut outs to cut out two more sections. You will have two sections facing right and two sections facing left.
-
With right sides together pin one right-facing short section to one of the left-facing sections along the curved edge of the shorts. Repeat for the two remaining sections.
-
-
Set up the machine up for sewing using a ½” seam allowance unless otherwise stated:
-
Wind a bobbin using the same thread that will be used for the top.
-
Insert the bobbin in the bobbin case.
-
Thread the top of the machine.
-
Select a straight stitch in the left position.
-
-
Stitch along the curved edge of the shorts. Remove the pins as you go. Do not stitch over the pins; you can damage your machine or hurt yourself if your needle breaks.
-
With right sides facing place the front and back sections together.
-
Pin along the inside leg. Stitch this seam.
-
Pin the sides together and then stitch along this seam line.
-
Press the seams open.
-
To create the hem for each of the legs fold up ½” and press. Fold up ½” again and press. Pin in place. Set aside for now.
-
Cut out two strips 4 ½” wide across the width of the fabric to create the ruffle on the shorts.
-
With wrong sides facing fold each of the strips in half lengthwise and press.
-
Change the stitch length to basting. (5.0)
-
To create the ruffle on each of the legs stitch ½” from the raw edge on each of the sections leaving a long thread tail at the beginning and at the end on each of the sections.
-
Run another row of basting stitches ¼” away from the first row.
-
Locate the bobbin threads for each of the rows of basting stitches and gently pull these threads to create the ruffles on the two sections.
-
Create as much of a ruffle as you desire.
-
-
Pin the ruffle to the bottom edge on both of the legs placing the ruffle 5/8” up from the bottom edge of the legs. Adjust the gathers as you pin the ruffle to the legs.
-
If the ruffle section is too long cut off a section of the ruffle. Fold the raw end over and pin in place.
-
-
Set the stitch length back to the 2.5mm size. Stitch ½” from the lower edge of each of the legs. There are many pins so be sure to remove the pins while you are sewing.
-
To create the waistband fold the top edge of the shorts inward ½” and press.
-
Fold the folded edge down into the shorts one-inch. Press in place. Pin to secure for sewing.
-
Stitch along the bottom edge along the fold line while leaving a 2” opening for inserting the elastic.
-
Measure the waist of you little one and add ½”. Cut the elastic.
-
Attach a safety pin to the one of the ends of the elastic. Thread the safety pin through the opening on the waistband until it comes out the other side.
-
Sew the elastic ends together. Adjust the elastic so that it lays flat in the waistband channel.
-
To finish sew the opening closed.


