
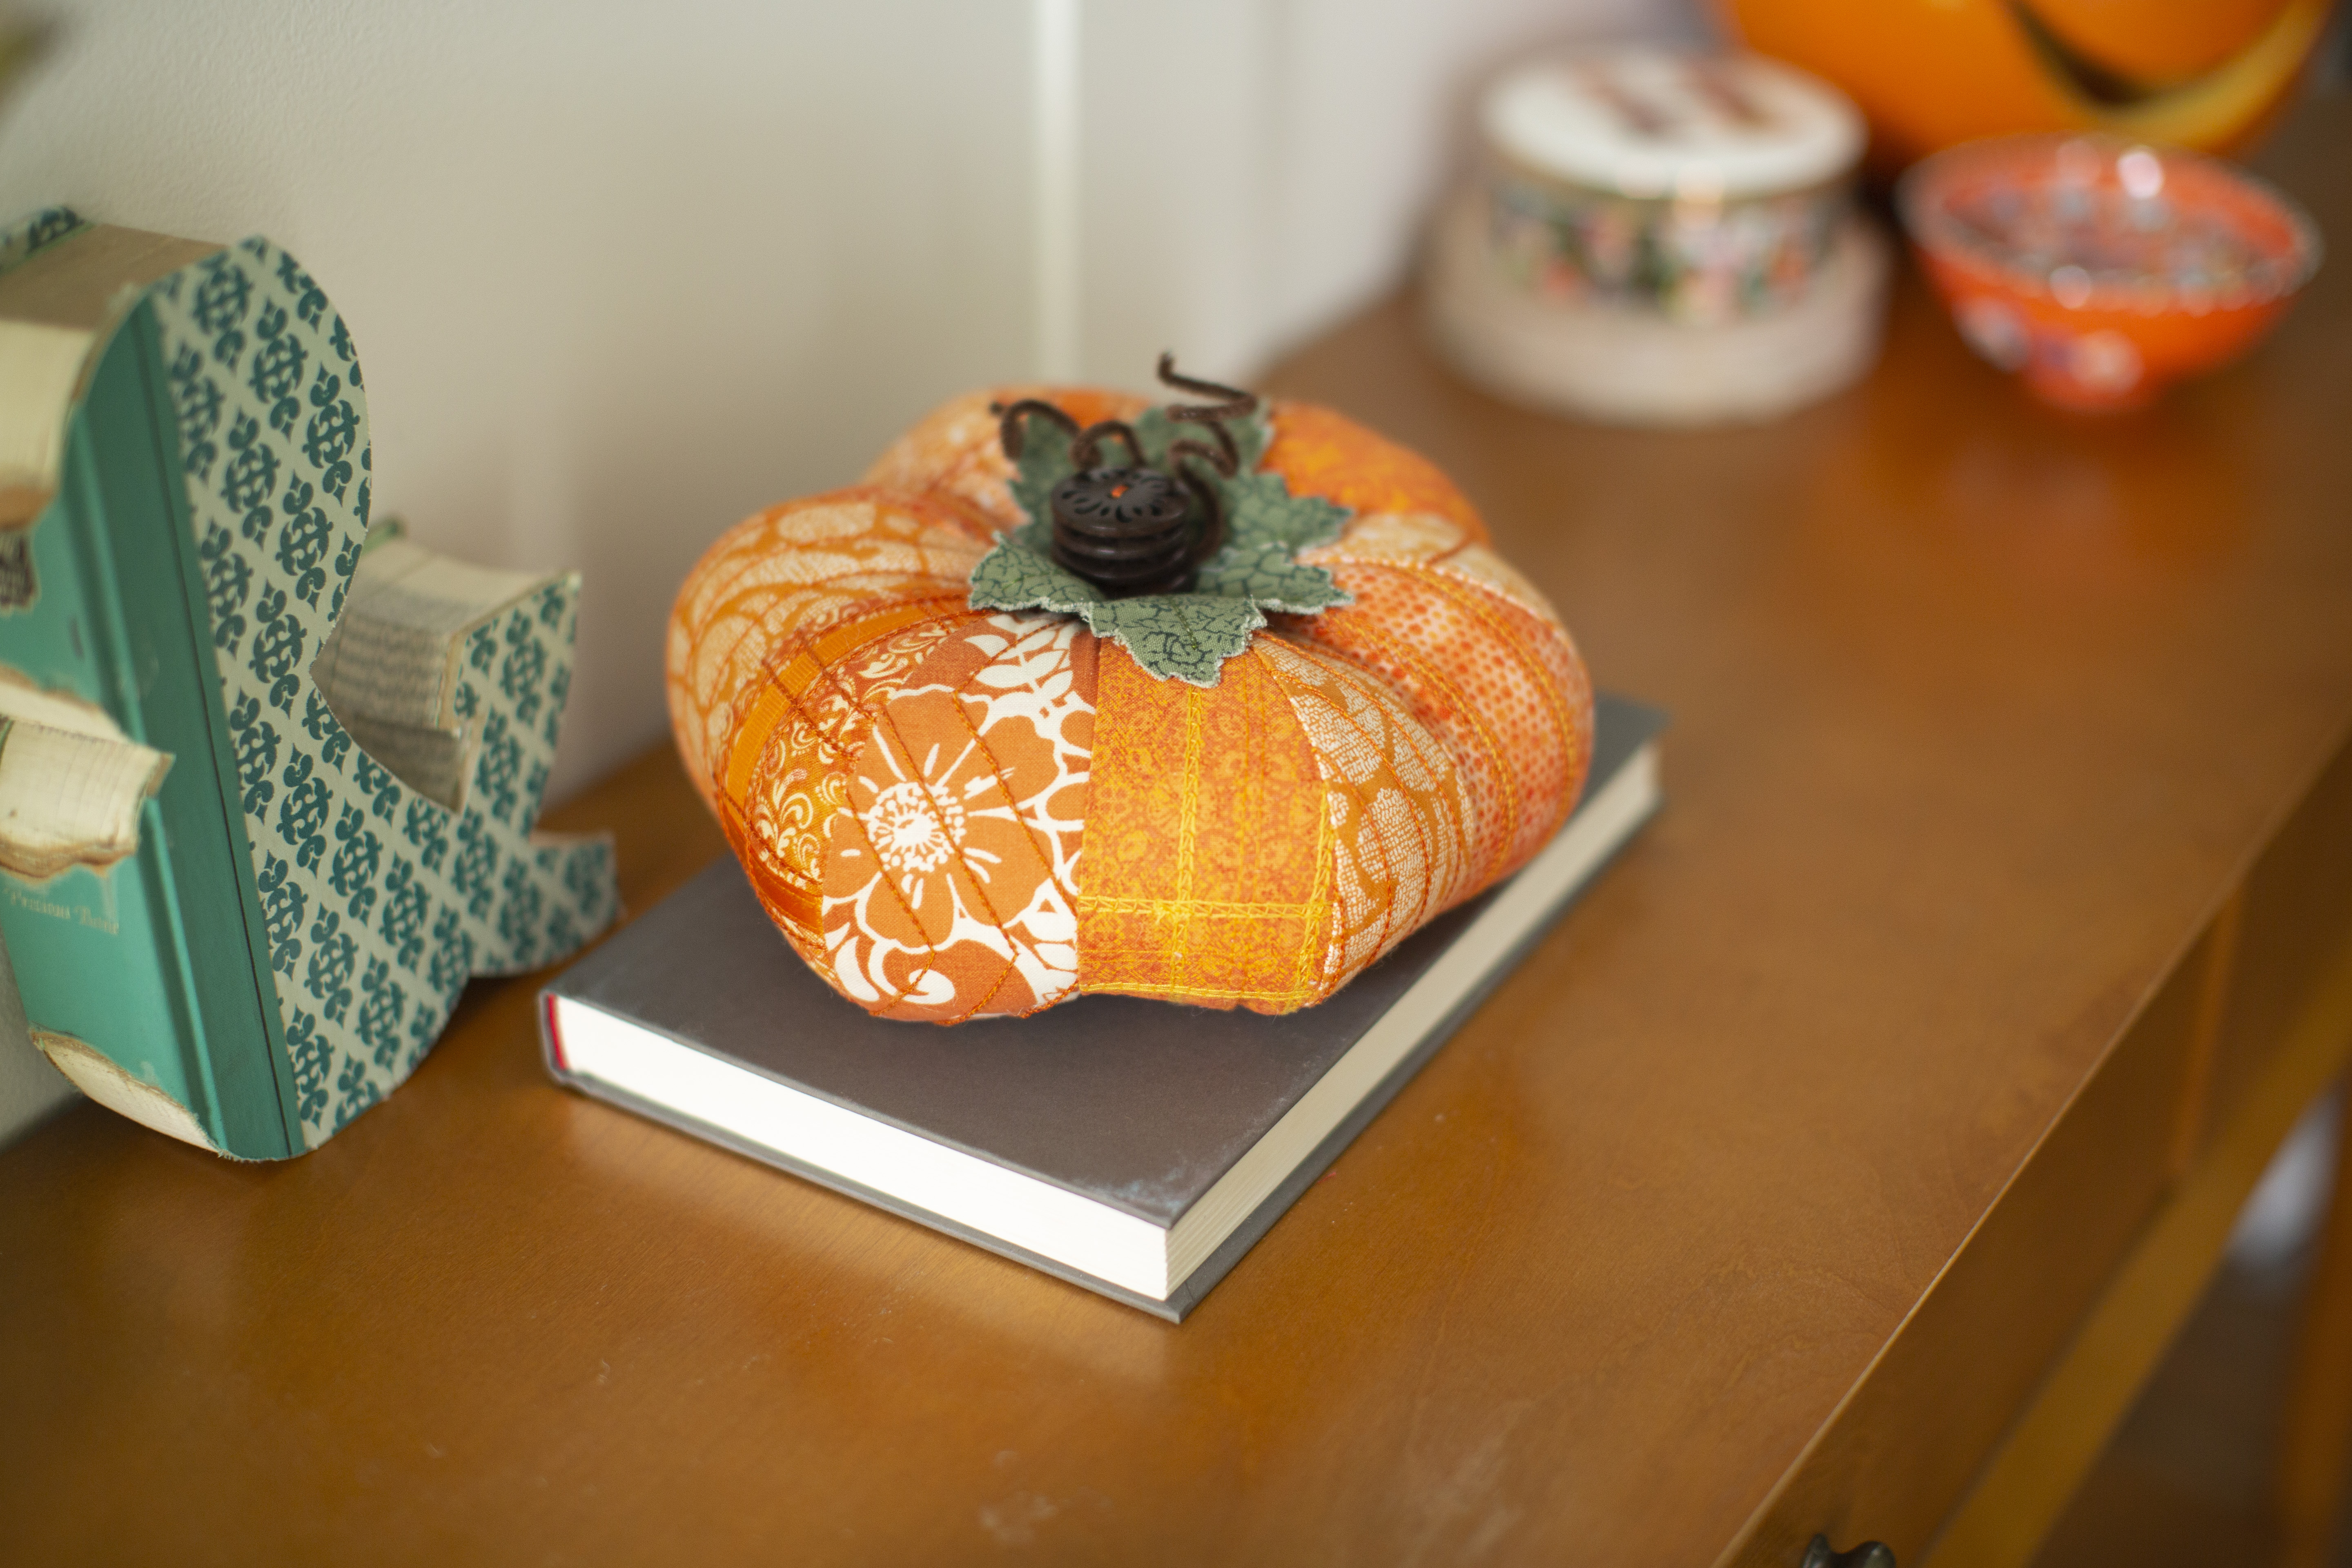
Create this fun and exciting soft sculpture pumpkin using all of the wonderful stitches available on Baby Lock's 8-thread sergers. Download printable instructions.
Materials:
- Four (4) Spools Serger Thread in Autumn Colors to match fabrics (orange yellow etc.)
- 1/8 yard (or fat quarter) of six (6) coordinating fabrics (for the sample I used various selections of orange patterns)
- Polyester Fiber Fill
- Decorative Ribbon (matching project fabric)
- Green Fabric (optional for the leaves)
- Brown Buttons (used to create the stem)
- Tapestry Needle
- Brown Chenille Stems (optional for stem)
- Madeira Decora or 12 wt. Decorative threads
Tools:
- Baby Lock 8-Thread Serger
- Baby Lock Clear Foot Chain/Cover Foot Pin Tuck Foot and Curve Foot. (optional feet shown)
Steps:
-
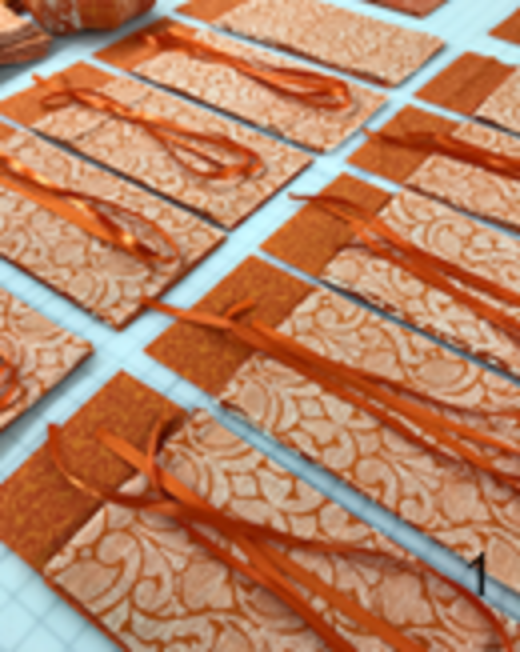
Cut each of your six fabric choices into rectangles measuring approximately 6”x12”.
-
You will need two rectangles of each of your chosen fabrics.
-
The fabric panels will be oversized to offset any shrinkage experienced from specialty stitches such as pin tucks.
-
-
Use the various overlock chain and cover stitch patterns available on your machine to embellish each of your twelve (12) fabric panels.
-
Using specialty stitches such as pin tucks and wide cover stitch to attach ribbon will add to the overall texture of the pumpkin.
For the example the following stitches were used: Chain (with decorative thread in the chain looper) 3-Thread Cover Stitch (with decorative thread in the chain looper) Narrow Cover Stitch Right (to create pin tucks) Narrow Cover stitch (reversed with decorative thread in the loopers) and wide cover stitch to attach ribbon.
-
-
Once all twelve (12) panels have been embellished join pairs of panels together using the four-thread overlock to stitch down one long side of the paired panels.
This will result in a total of six (6) panel sets.
-
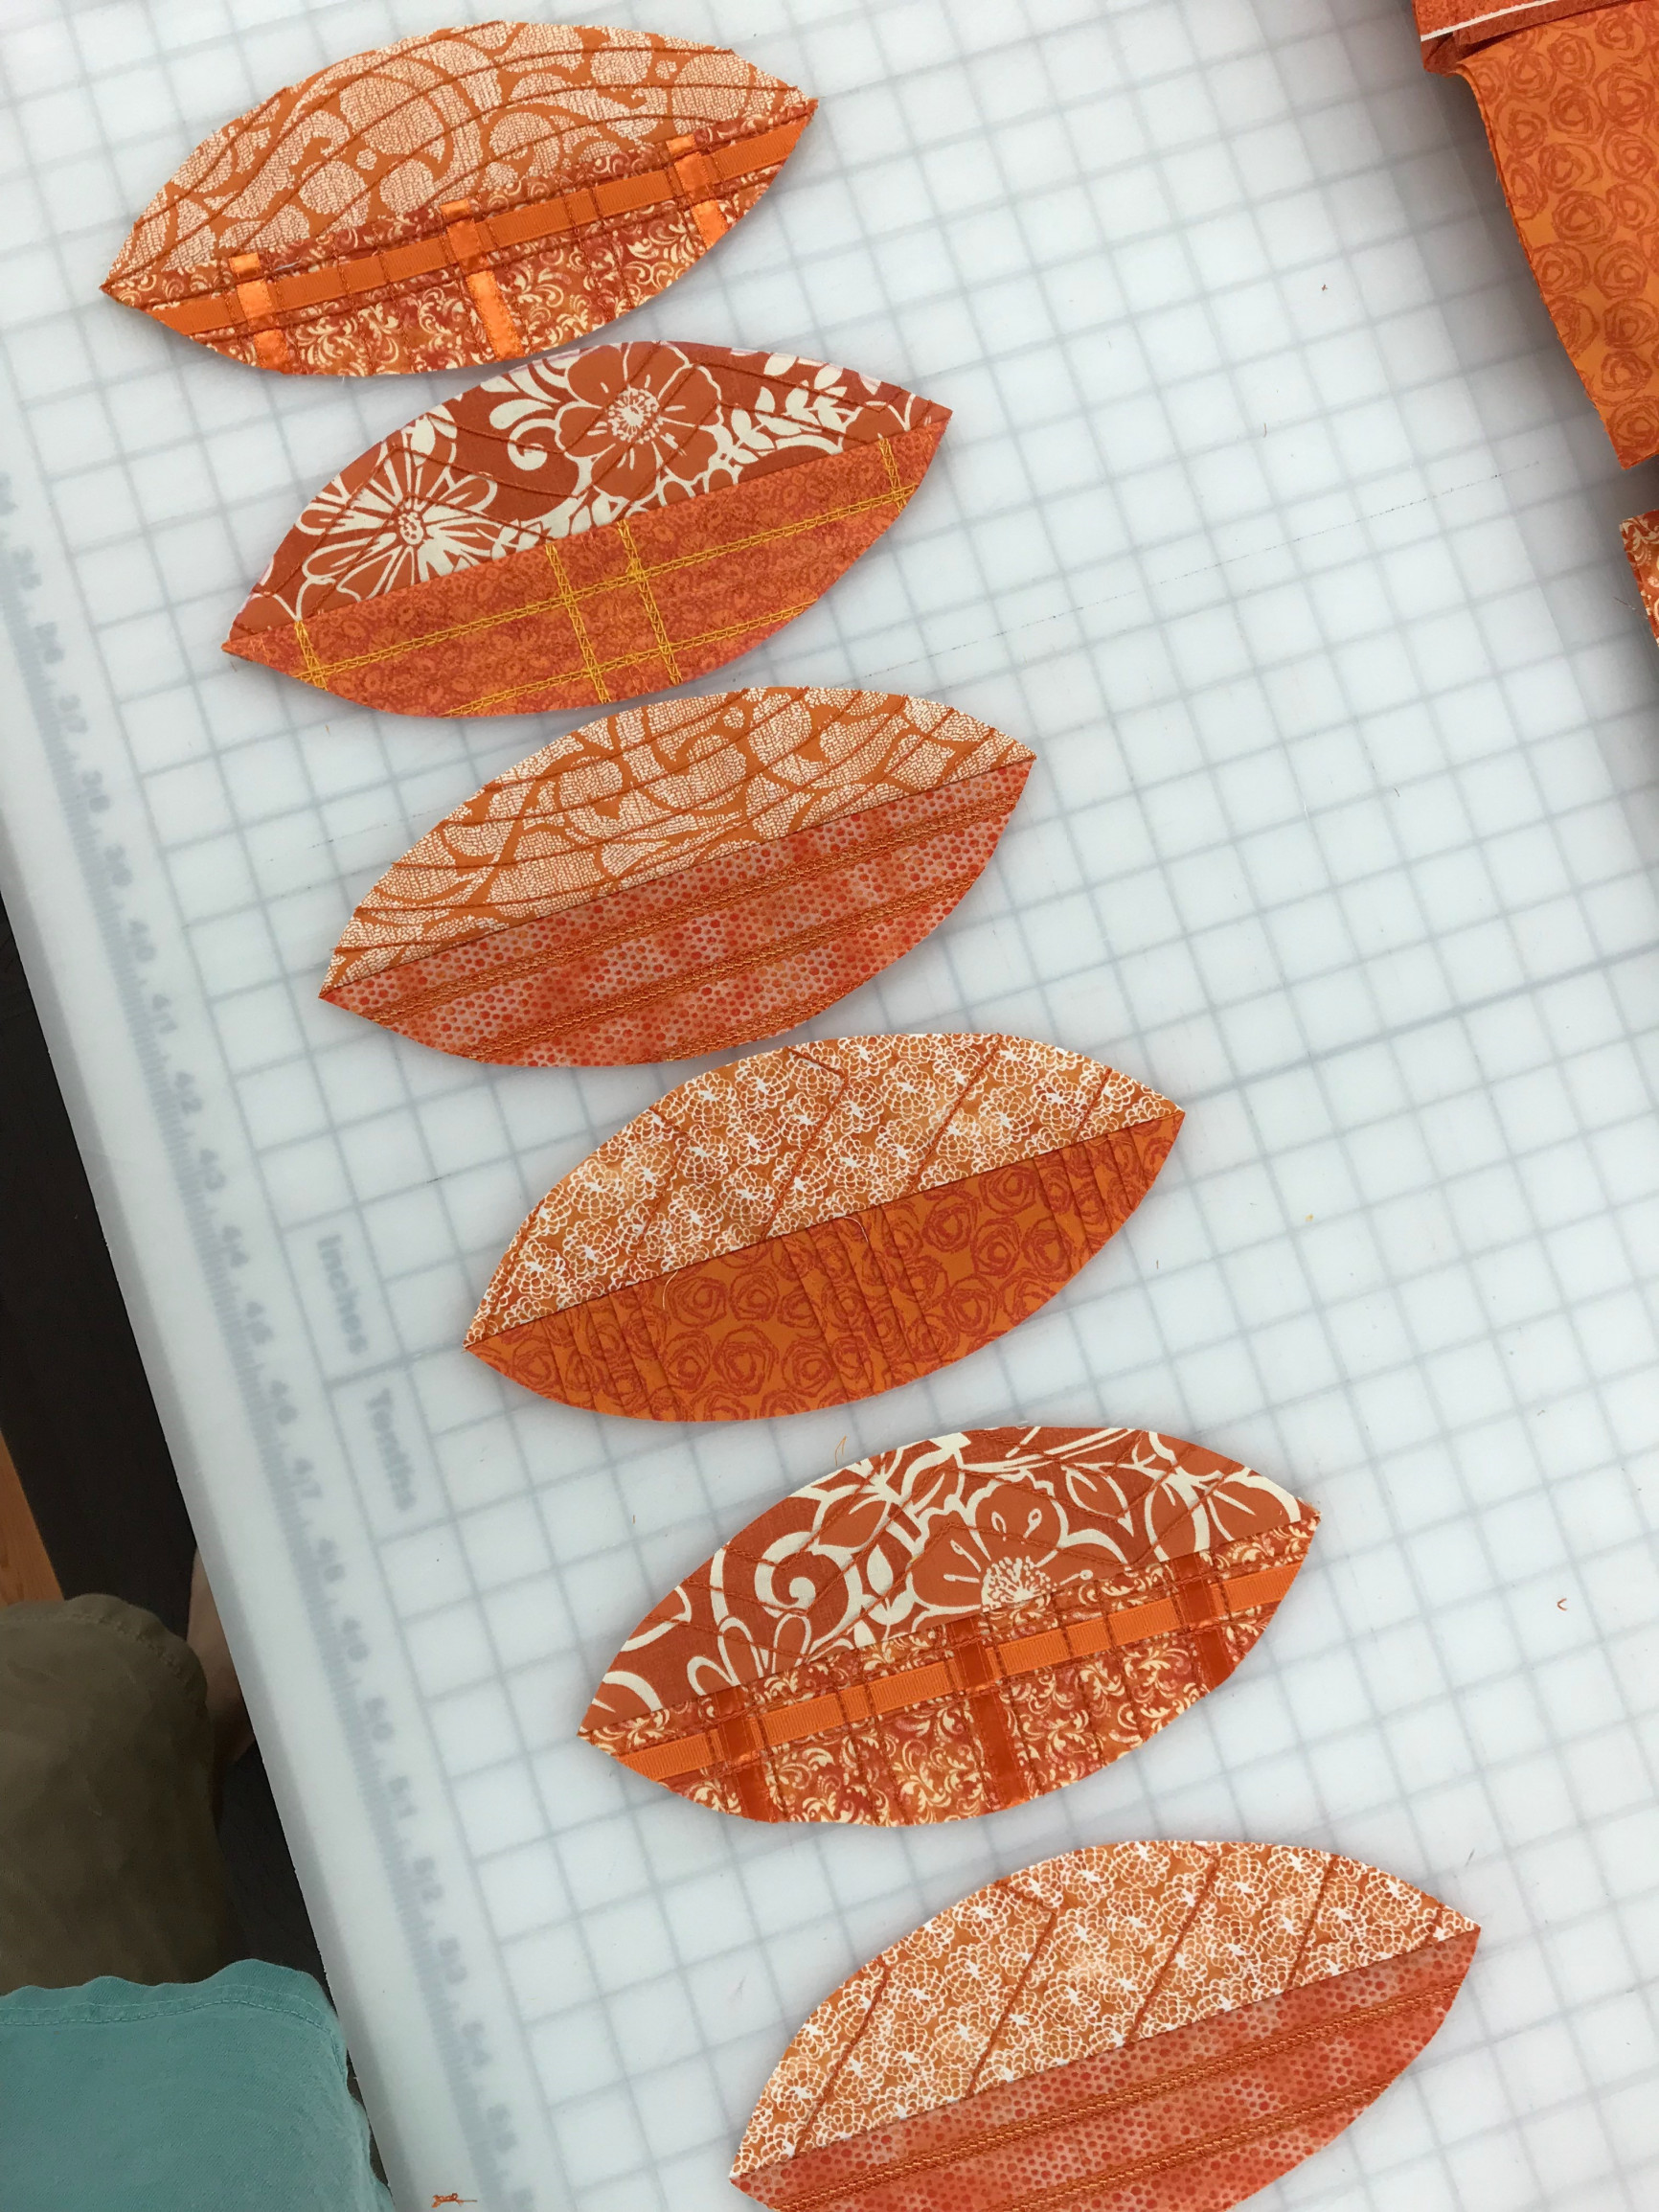
Each of the six (6) panels that were created in the previous step will now be cut into football shape wedges.
To ensure that each of the six (6) panels are identical it is best to make a template.
-
Once the panels have been cut to the appropriate shape you will use a four-thread overlock stitch to join each of the panels to one another.
-
To do this lay two panels with right sides together and stitch along the curve.
-
Using the curved foot simplifies the process.
-
Repeat until all panels have been joined.
-
-
When all panels have been joined you will have something resembling a beach ball shape. Turn the pumpkin right-side out.
-
Using a tapestry needle (or equivalent) and a heavy-weight thread sew the opening of the bottom of the pumpkin together.
-
Be sure to fully close the opening to prevent the Polyester Fiber Fill from falling out.
-
-
Using the Polyester Fiber Fill stuff the pumpkin.
-
Using the same tapestry needle from the previous step sew the opening at the top of the pumpkin closed.
-
Again be sure to fully close the opening to prevent the stuffing from falling out.
-
-
Using a heavy weight thread and decorative buttons create the “stem” of the pumpkin by threading the buttons onto the thread and sewing through the center of the pumpkin.
This will not only add the stem to the pumpkin but it will also add shape to the pumpkin. The tighter you pull the more condensed the pumpkin will become.
-
In the example leaves were created to add to the pumpkin.
-
The leaves were created by cutting the leaf shape on a fabric cutting machine and then using the chain stitch to create the veins of the leaf.
-
Once the leaves were completed they were sewn into the pumpkin as the stem was added.
-
-
Use the chenille stems to embellish the stem (if desired).


