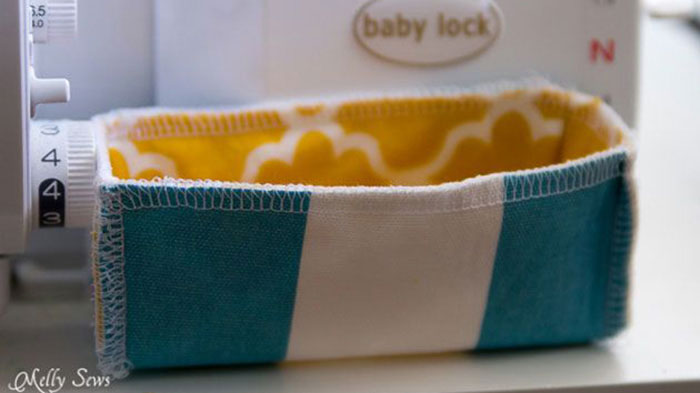
Love your Baby Lock serger but don't love the mess it makes? Melissa Mora of Melly Sews created this handy trim bin with her serger! She said "I like to keep one below my serger to collect trimmings - I prefer this to a bag that hangs down. I can catch my trimmings and periodically dump them in the bigger wastebasket near me." Download printable instructions.
Materials:
- Inner fabric
- Outer fabric
- Heavy-duty interfacing
- Basic sewing supplies
Tools:
Steps:
-
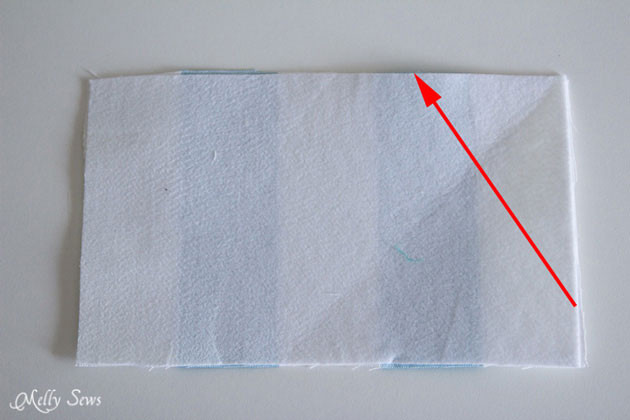
Cut a rectangle from each of your fabrics that measures 7 1/2 inches long by 6 inches wide. Place your outer fabric wrong side up.
-
Fold one short edge 45 degrees to meet the long edge as shown in the picture below keeping the corner precise.
-
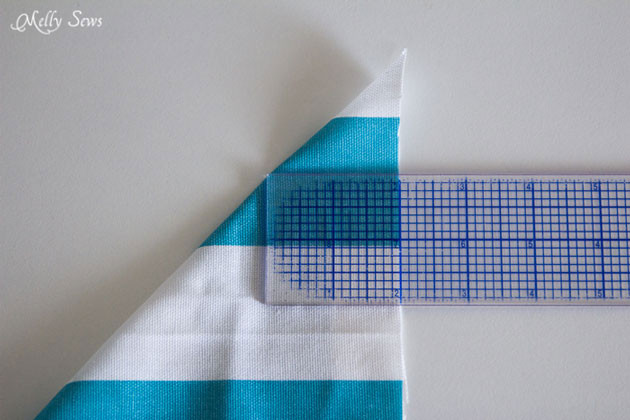
Measure with your ruler to the point where the corner is 2 inches across. Draw a line across the corner with your fabric pen.
-
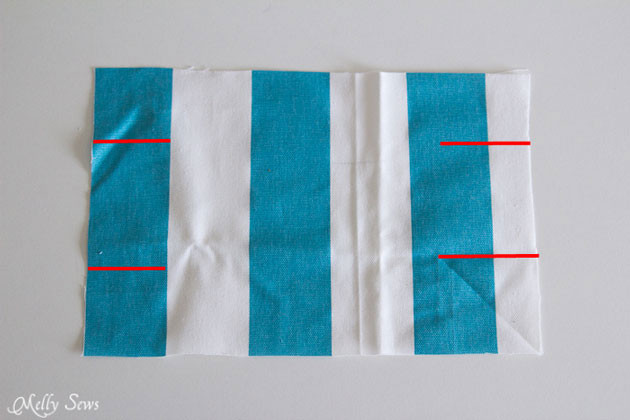
Repeat this process with each of the other corners. When you are done you'll have four 2-inch long marks on the right side of your outer fabric that will look like this.
-
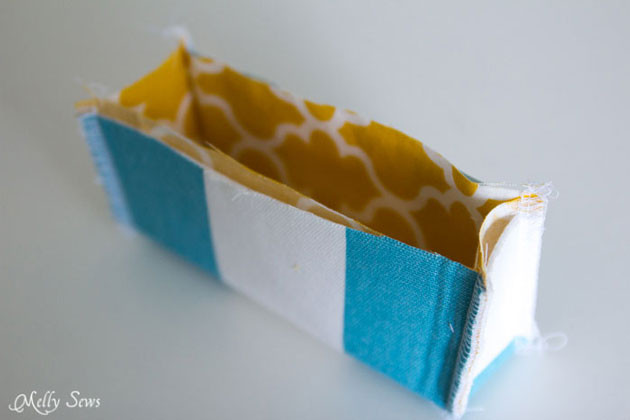
Make a sandwich - outer fabric wrong side up heavy duty interfacing then inner fabric right side up.
-
Fold all 3 layers as you did to make the outer fabric marks above; one short edge 45 degrees to meet the long edge keeping the corner precise.
-
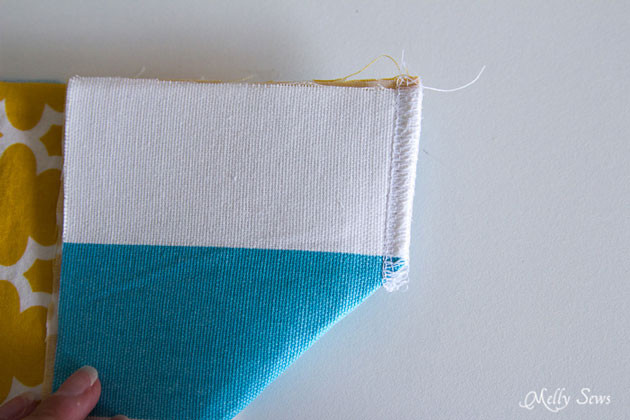
With your serger sew right across the mark you made earlier cutting off the corner of the fabric. Weave in the serger tail.
-
Repeat this on each corner of the fabric creating your box.
-
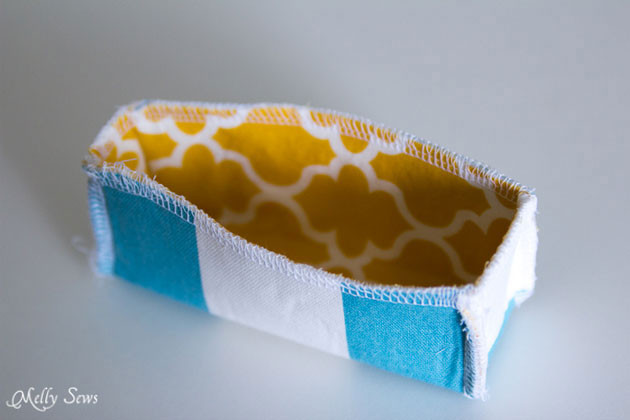
For the final step serge around the top of the box securing all 3 layers together. Weave in serger tails.
-
Set the tray in front of your serger to collect trimmings.


