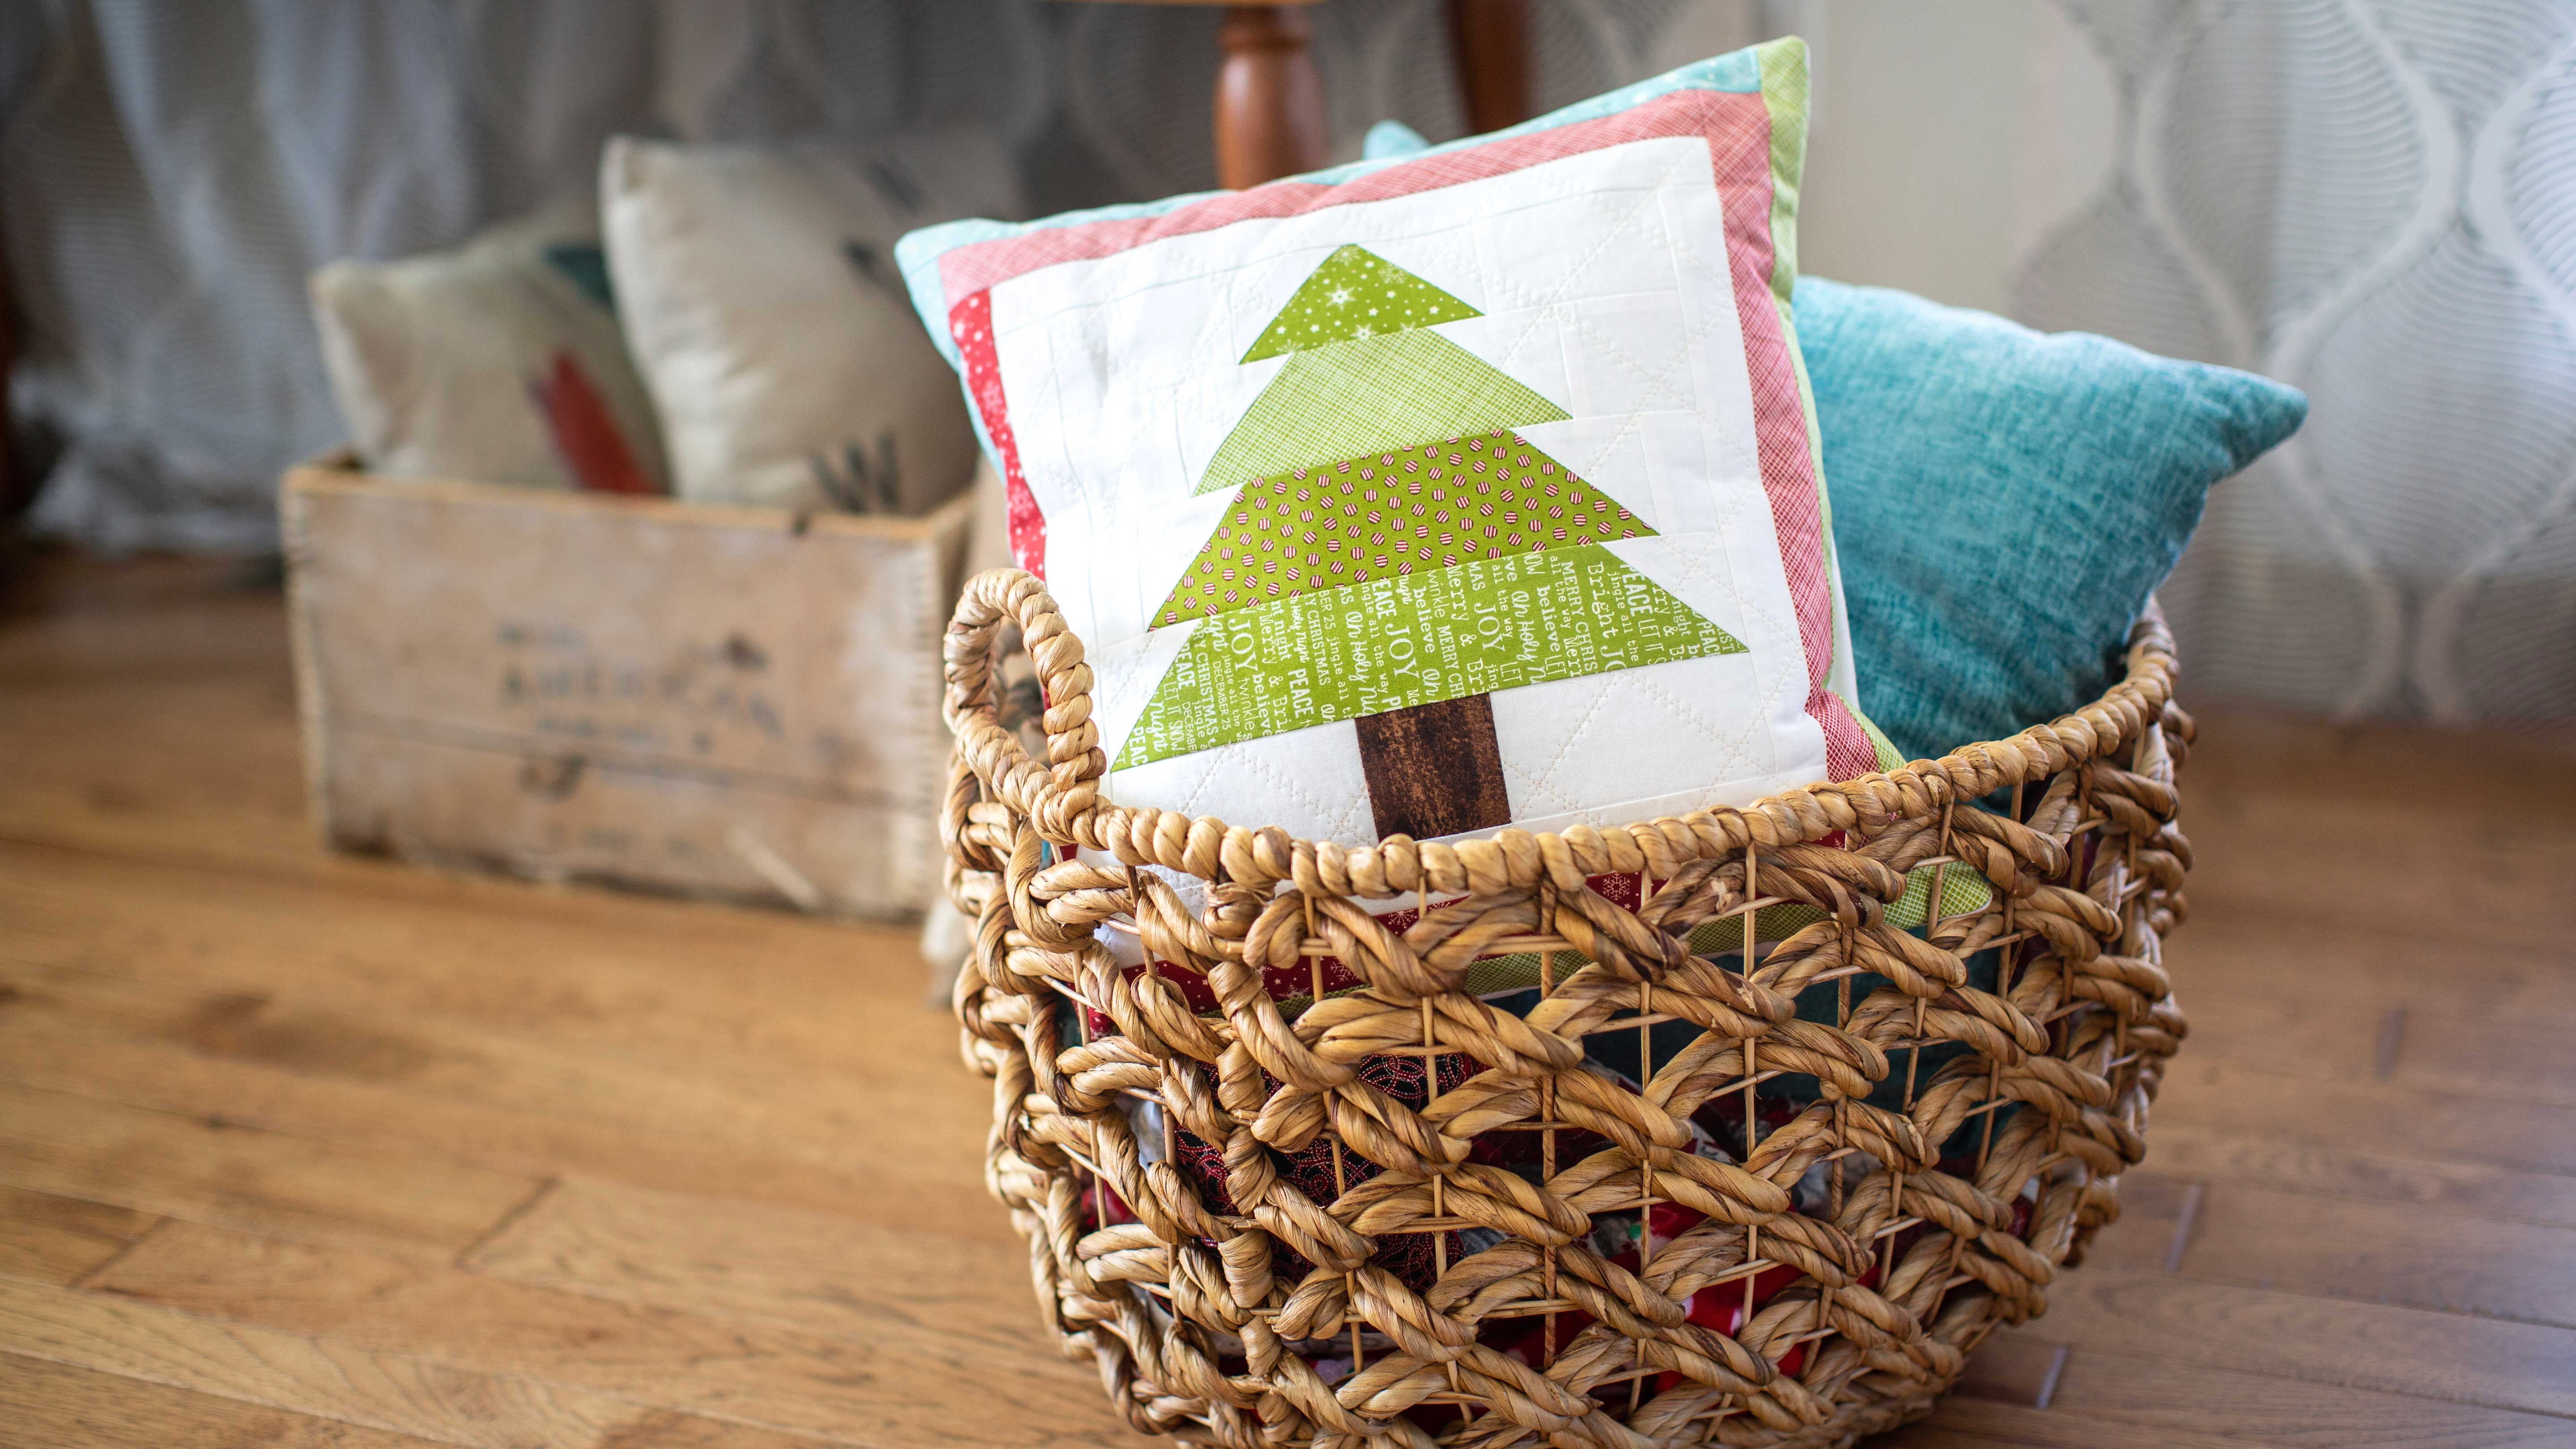
Did you know you could make a fun and festive pillow from a simple quilt block? Create a simple Christmas tree block and your pillow is almost finished! Once you see how quick it comes together you may even want to make a whole quilt to match! Download printable instructions.
Materials:
- 1/2-yard white grunge fabric for background
- ½ yard white fabric for pillow backing
- Christmas Jelly Roll
- (1) 2” x 2 ½” square of brown for tree trunk
- ½ yard Shape-Flex™ Interfacing
- 16” x 16” pillow form
- White thread
- FriXion pen
- 24” Quilters Ruler
- “J” Foot (comes standard with machine)
- 45mm Rotary cutter
- Rotary cutting mat
- Iron and ironing board
Tools:
- Baby Lock Sewing Machine
Steps:
-
At the cutting table:
-
From white grunge fabric cut (3) – 18” x 18” squares from white grunge background fabric
-
From white grunge fabric sub-cut (2) rectangles 2 ½” x 4 ¼” (2) rectangles 2 ½” x 3 ½” (10) rectangles 2 ½” x 2 ½” (2) rectangles 1 ½” x 10 ½” (2) rectangles 1 ½” x 12 ½”
-
From white backing fabric cut (2) – 15 ½” x 18” (fold in half along 15” edge and press along fold)
-
From the jelly roll cut (4) - 2 ½” x WOF strips of green and sub-cut (1) rectangle 2 ½” x 10 ½” (1) rectangle 2 ½” x 8 ½” (1) rectangle 2 ½” x 6 ½” and (1) rectangle 2 ½” x 4 ½”
-
From the jelly roll cut (2) - 2 ½” x WOF strips of green for outer border (2) – 2 ½” x WOF strips of red for outer border and (2) 2 ½” x WOF strips of blue for outer border
-
From the interfacing trim to a 15” square
-
-
Making the Christmas Tree block
-
Begin by drawing a diagonal line on the wrong side of 8 – 2 ½” x 2 ½” white squares.
-
Place a white 2 ½” square right sides together with a green rectangle. Sew on the drawn line and press. Trim the extra leaving a ¼” seam. Repeat for the remaining three.
-
Repeat with another 2 ½” white square on the opposite side of the rectangle. Repeat for the remaining rectangles.
-
-
Assembling the block and inner borders
-
Add the remaining background rectangles and squares to either side of the tree rectangles
-
Set your machine to Piecing Stitch (right) #15. Guiding your fabric along the right edge of the foot will give you a ¼” seam.
-
Sew the tree block rows together. Press seams in one direction.
-
Add the 1 ½” x 10 ½” red green and blue background border rectangles to the left and right sides of the tree block. Press out toward the background rectangles
-
-
To quilt the front fuse the block to the Shape-Flex and mark your quilting lines with the ruler and FriXion Pen. Use a zig-zag stitch wavy straight-line quilting or sashiko stitch
-
To finish line the raw edges of your folded fabric backing pieces to the top and bottom of the pillow front with right sides together.
-
Sew ¼” seam allowance around the perimeter of the pillow then trim fabric bulk from each corner and turn right side out. Insert your pillow form and enjoy!
-


