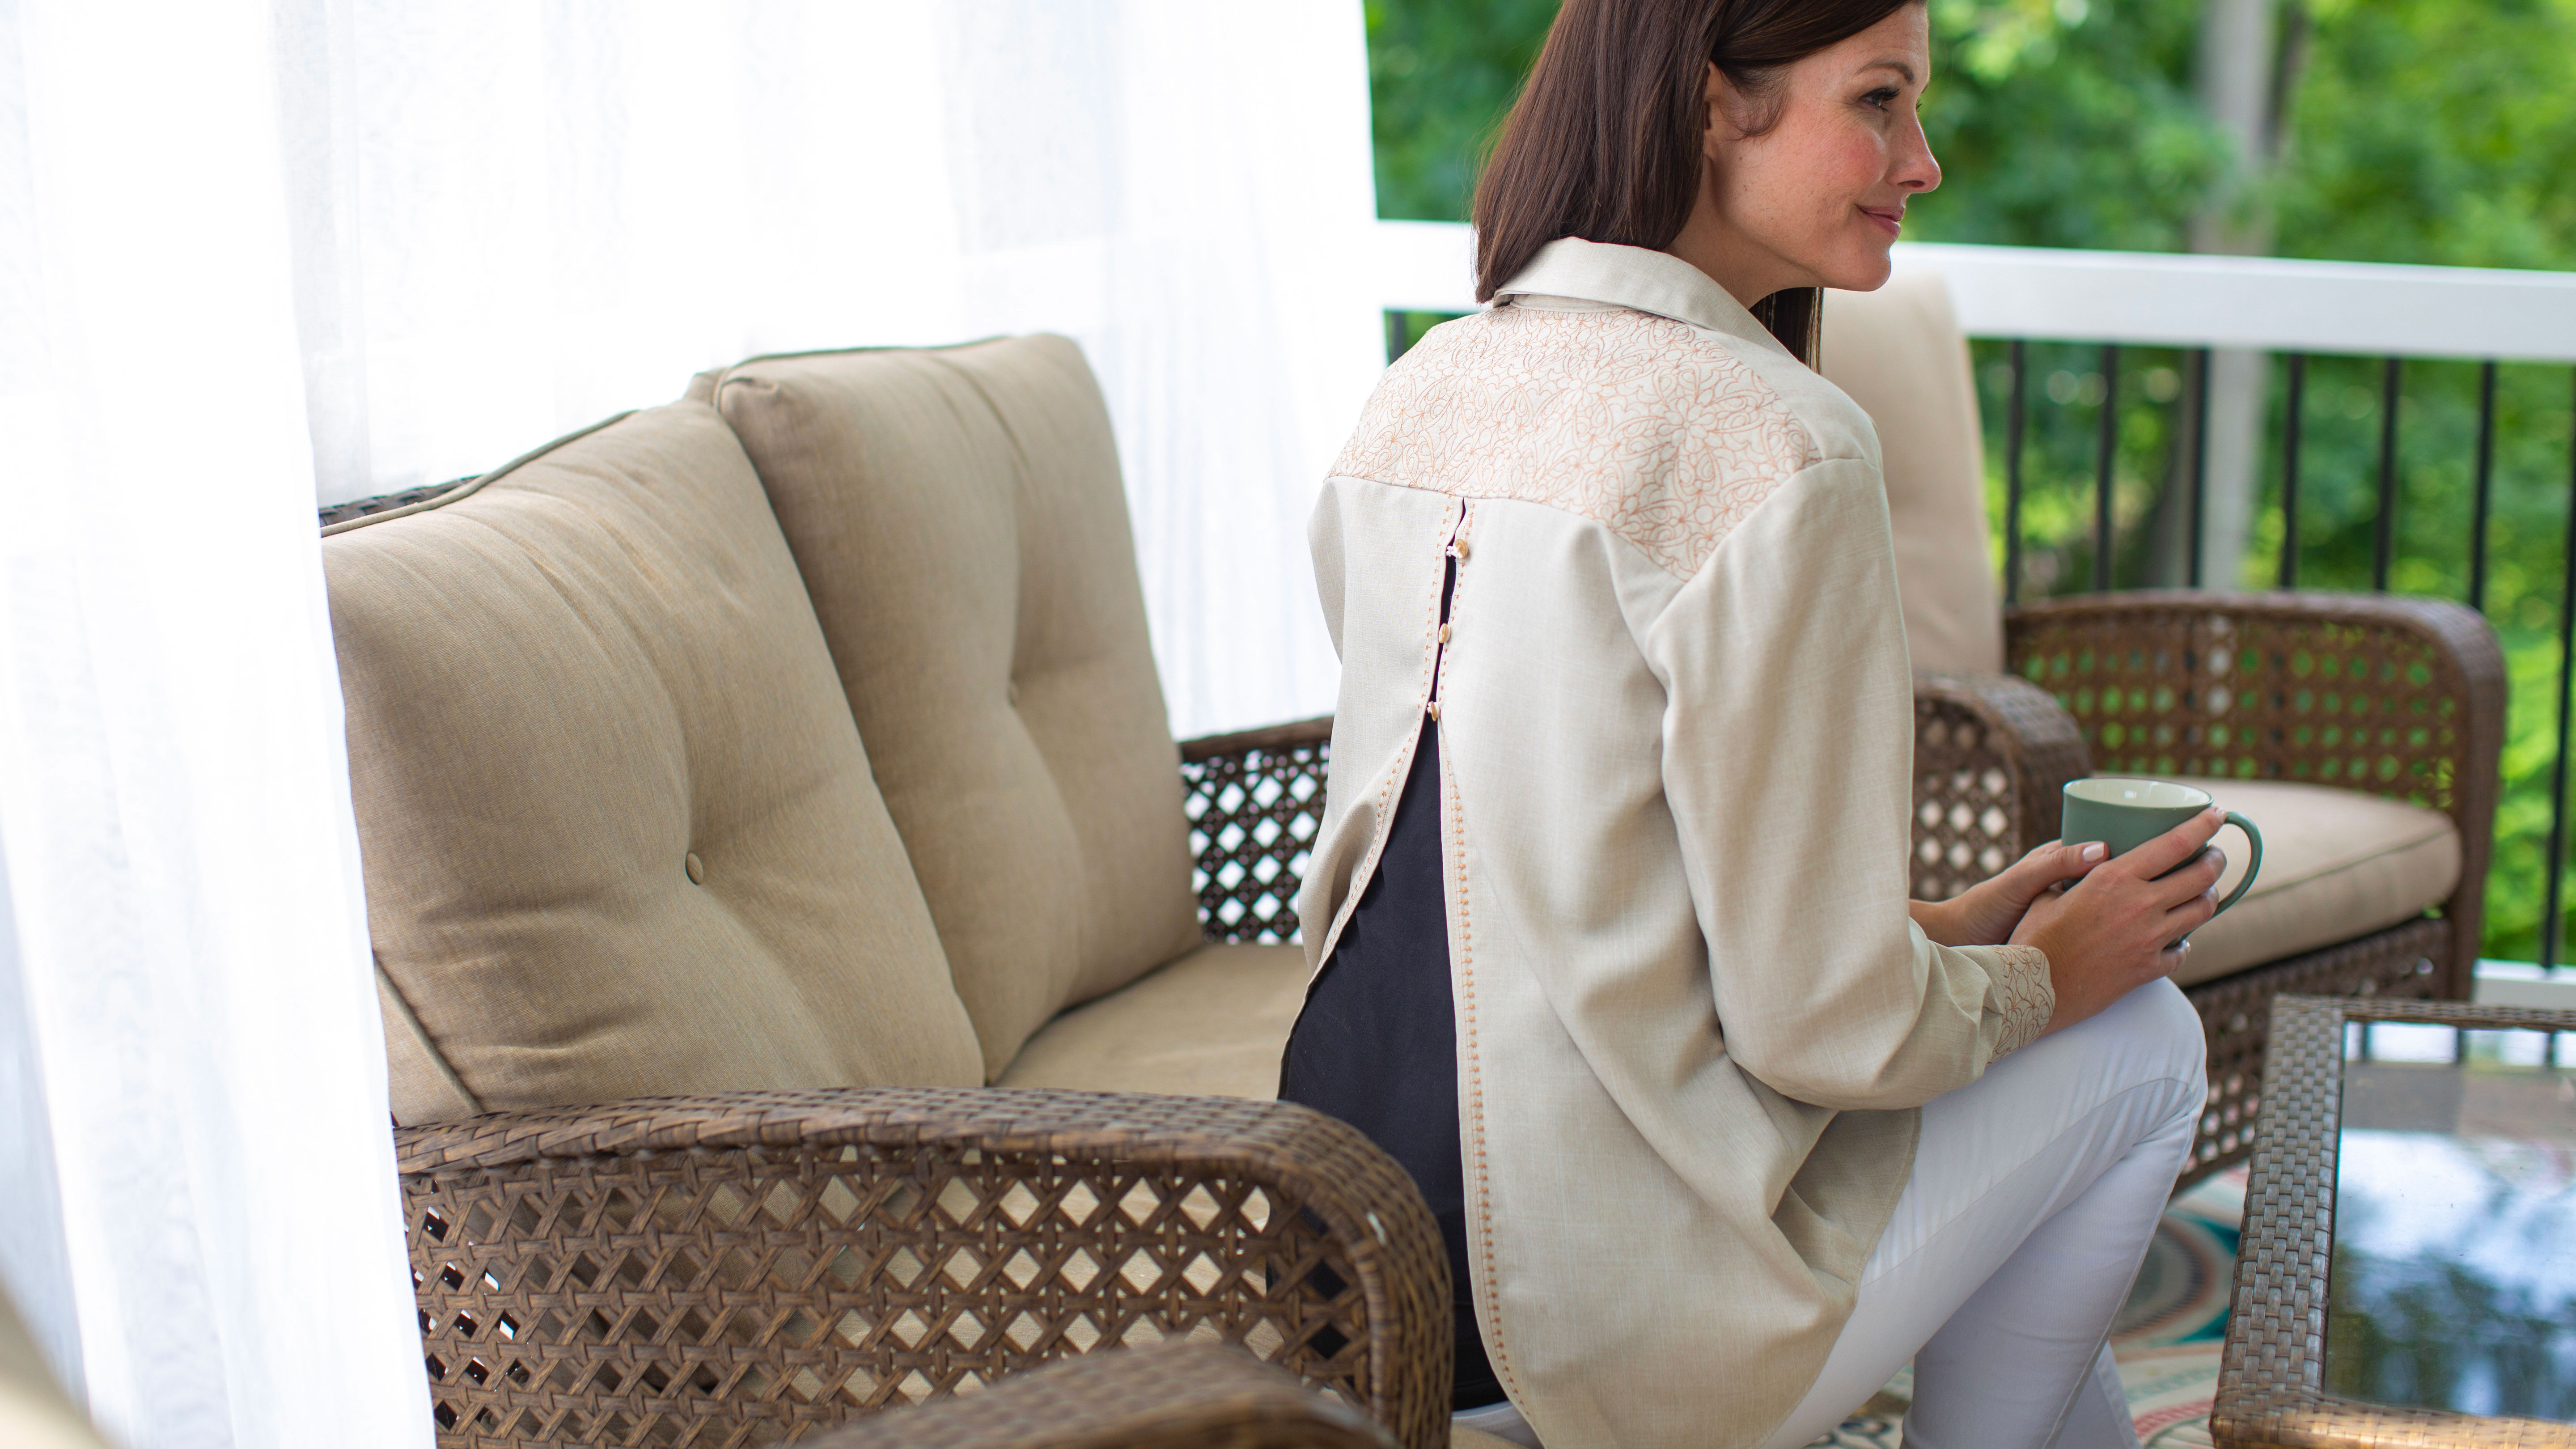
For a unique and personalized garment that is on-trend create this open-back top! The Baby Lock Solaris’ IQ Visionary’s ability to create intricate decorative fills gives this project its unique finish. Because of the details we recommend that you have prior experience with garment sewing before attempting this project. Download printable instructions.
Materials:
- Simplicity Shirt Pattern #8416 or similar style
- Linen fabric and supplies as listed on the pattern guide sheet
- Madeira® embroidery thread
- Baby Lock No-Show Mesh Fusible Stabilizer (BLC304)
- Baby Lock No-Show Mesh Stabilizer (BLC301-20)
- Temporary spray adhesive
- Basic sewing and embroidery supplies
Tools:
Steps:
-
Follow the guide sheet from the pattern for cutting out each of the pattern pieces for View D of the shirt.
-
Fuse the No-Show Mesh Fusible Stabilizer to the backside on the fabric from the yoke pattern piece #3.
-
Tip: When fusing the section to the stabilizer use a pressing sheet so that you do not gum up your iron or ironing board.
-
-
Hoop the Baby Lock No-Show Mesh Stabilizer in the 10 5/8” x 16” hoop. Use the temporary spray adhesive; lightly spray the topside of the stabilizer.
-
Place the stabilized section of the yoke on the center of the hooped stabilizer. Finger press to secure.
-
-
Set up the machine for embroidery:
-
Wind two bobbins using the Finishing Touch Thread that comes packaged with the machine.
-
Place the hoop onto the embroidery unit.
-
-
To create the design follow the next set of steps:
-
Click on the IQ Designer option on the opening screen.
-
Click on the Frames icon as shown on the center right on the screen.
-
Select the Hoop icon for the 10 5/8” x 16” hoop and click OK. This will create the largest area in which the design will fit.
-
Click on the next icon
-
When the next icon to the right of the red box opens click on Select. This is the complete list of open fill design that can be chosen. We used design #011
-
Click on OK to accept the design.
-
In the next field change the color of the design as desired.
-
Click OK once more to get back to the home page screen.
-
Click on the icon inside the black box as shown below. This icon will fill the hoop area with the design. Click on the open area to fill the area with the design.
-
Click on Next.
-
In the next field you can make any adjustments to the design such as the size pattern direction outlines around the design pattern shifts in the hoop or pattern offsets
-
Click on each of the options and make adjustments to the pattern as desired. We placed an outline around the pattern but is not necessary for this project.
-
After any changes have been made click on Set to advance to the next screen.
-
Click on OK. You are now on the main screen of Embroidery Edit.
-
Since no more changes are needed click on Embroidery at the bottom of the page.
-
-
Press the Start button to embroider the design using the designated thread color. In the sample Madeira embroidery thread was used.
-
The design will take approximately 69 minutes to embroider. Remove the embroidered area from the hoop.
-
You may need to cut out the yoke section while maintaining the original shape for the area.
-
-
Proceed with the pattern guide for constructing the shirt. Continue with the guide sheet until you get to the cuff insertion Step 30.
-
In the sample the cuff sections (Pattern 7) were embroidered using the same pattern design as on the back of the yoke.
-
Embroider them at this time following the same steps as above. Since the cuffs are smaller than the yoke section you might choose to create a smaller design.
-
It will take less time to embroider but you will have two cuff sections.
-
-
Continue with the Step 30 through to the end of the pattern guide sheet.
-
Apply the buttonholes using the new buttonhole foot that comes with your Solaris. Test-sew the buttonholes on a sample piece of fabric with the same thickness.
-
Optional: Apply decorative stitches along the two back opening sections using the new camera functions
-


