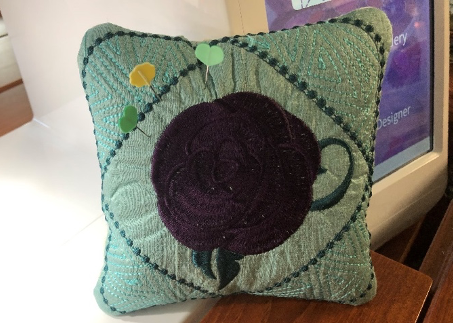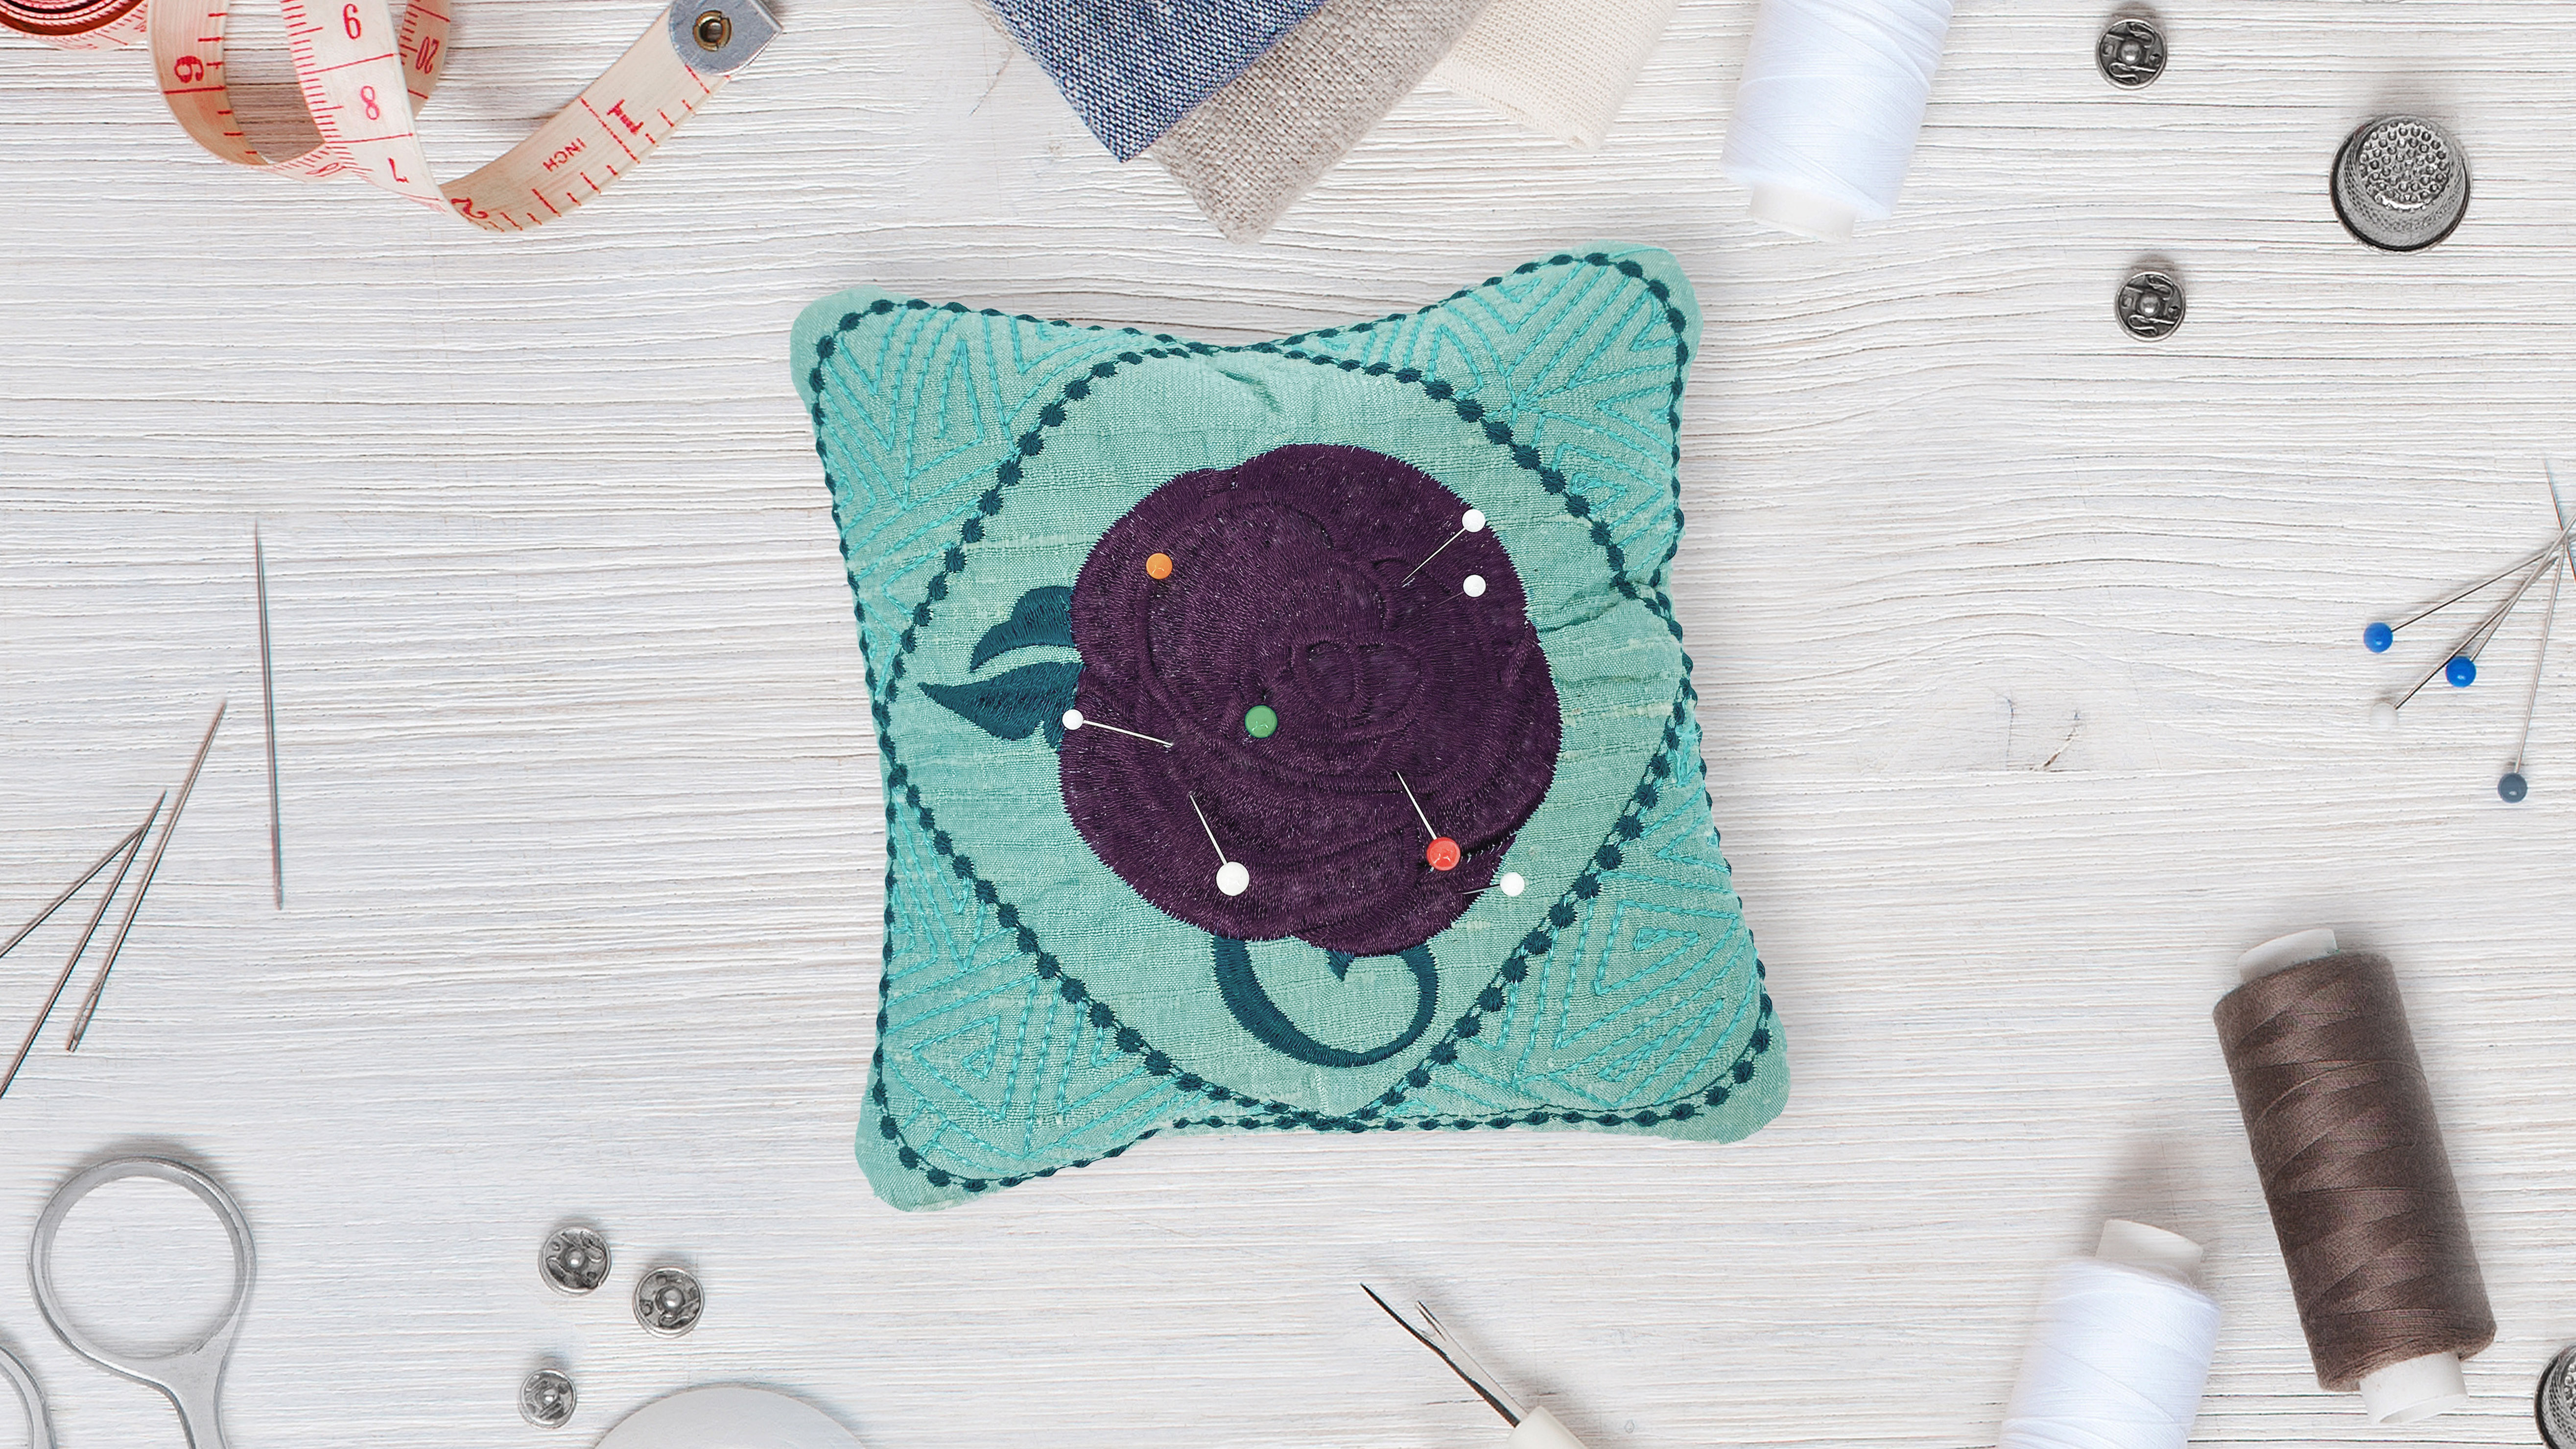
Create a one-of-a-kind elegant pincushion to keep right at your fingertips and close to your sewing station. This IQ Designer-inspired pincushion with a beautiful rose center is perfect for anyone who sews.
Download the project instructions here.
Materials:
- 6” x 10” embroidery hoop
- Madeira Thread (Decorative to coordinate)
- Baby Lock Stabilizer – No-Show Fusible Mesh (pressed to back of silk)
- 7” x 7” silk fabric
- Scrap batting to fill hoop
- Hand Sewing Needle
- Walnut shells to fill pincushion
Tools:
Steps:
-
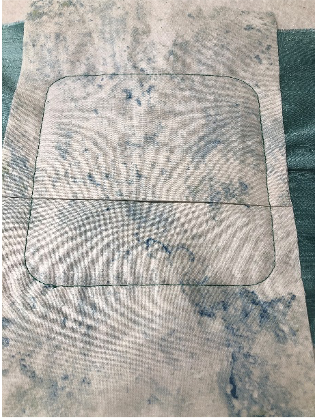
Open IQ Designer: Click Shapes Icon. Click Square with rounded corners. Click size and resize smaller to 5.25”X5.25”. Click OK.
-
Click Shapes Icon. Click Square on Point. Click Size. Resize smaller to 5.23”X5.23”. Click OK.
-
Click Region Property Icon. Click Specialty Fills Icon and click select. Click #39 and click OK.
-
Click Region Property fill bucket. Click inside triangle corners around the square.
-
Click Line Properties Icon. Click Candlewicking Stitch. Click Yellow (3rd in second row). Click OK.
-
Click Line Properties Fill Bucket. Click on the line around square. If lines are touching you will not need to do next step. Click on square on point.
-
Click Next. At the top of the screen click on chain. Joining all fills together as one. Click Size and resize to 50%. Click Memory to save and click machine. Click Set.
-
Click Add. Click on #2 tab. Click on design #7 and set.
-
Click Edit and Rotate. Click and rotate 46 degrees to the left. Click OK.
-
Click on Add and click shapes tab. Click on #2 and #10. Click on Edit and Size. Resize to 5.57”X5.57” and click OK
-
Click on Embroidery.
-
Hooping: Hoop batting to fill hoop. This will be used as stabilizer and inside layer of pincushion.
-
Silk will float on top and be basted in place. Attach hoop to machine embroidery unit. Click Layout click baste icon. Click Layout to close the window.
-
-
Pick colors that coordinate with the color of silk.
-
Baste silk to batting. Stitch newly created design stopping at last color.
-
Prepare backing: 2 pieces 6”X10” folded in half and press creating 2 pieces 6”X5”.
-
Take one of the backing pieces place the fold along the center of the design.
-
Take the second piece overlap 1” of 1st piece of backing and fold towards middle of design.
-
You may need to tape the folds in place to keep the foot from catching. Painters tape works great for this.
-
Thread machine with polyester sewing thread. Stitch last color.
-
-
Remove from hoop and trim around leaving ¼” of fabric from the stitch line. Turn the right side out and press.
-
Fill with crushed walnut shells. Place a small piece of batting at the opening to hold the shells in while you close the hole. Hand stitch shut and enjoy!