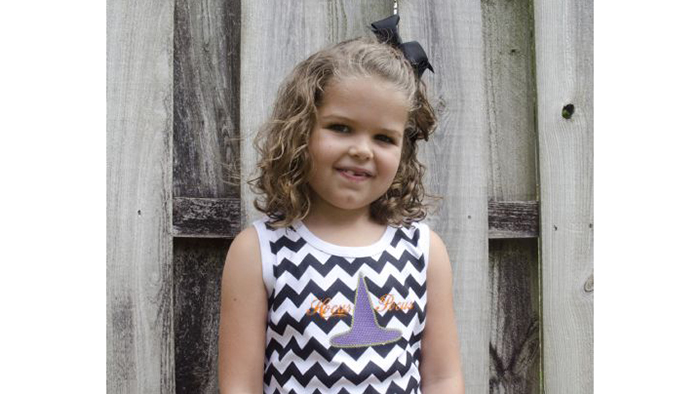
Are you still perfecting your digitizing skills? With Designer’s Gallery® it’s easy to turn a simple shape into a beautiful embroidery design. Explore the digitizing features of a Baby Lock embroidery machine as you embroider this dress. You’ll finish just in time for Halloween. Download printable instructions.
Materials:
- Purchased little dress from www.allaboutblanks.com
- Madeira® embroidery thread
- Cut-Away Soft stabilizer from Baby Lock
- Temporary spray adhesive
Tools:
- Baby Lock® Sewing and Embroidery Machine
- Designer’s Gallery®
Steps:
-
Open the program by clicking on the MasterWorks III icon on the desktop.
-
Click on the Artwork tool on the top toolbar. Scroll down and select Custom Shapes. Select the Witches Hat as shown below inside the green box.
-
With the shape selected click on Apply Stitches and select the Standard Fill from the list.
-
Change this section to Purple.
-
To duplicate the witches hat right click on the shape and choose Copy and then Paste.
-
With the duplicated hat selected click on Apply Stitches. From the list select Loose Fill.
-
Change the color of this section to a bright green.
-
Under the Properties field adjust the Density setting to 4.0mm and Apply.
-
Create another duplication of the witches hat design which will be used for the outline.
-
With the duplicated hat selected click on Apply Stitches. From the list select Run Motif.
-
To change the Motif click on the down arrow next to Motif and select Motif 206. Change the Stitch Length to 3.0mm and Apply.
-
To create the lettering for the design follow the next set of directions:
-
Click on the Text icon on the left toolbar.
-
Type in “Hocus Pocus” on the first line and enter.
-
Click on the down arrow next to Font and select the Soda font style.
-
Click on Apply.
-
To create additional space between the two words click on the green diamond between the two words and move "Pocus" outward so that the words are on each side of the witch hat
-
Change the thread color to orange.
-
-
Click on the print icon to create a template for placement of the design on the dress.
-
Click on File Save As and name the design “witch hat”. Save the design as a working file to a location of your choice.
Then click on File Save As and save as the .pes file format. Send the design to the machine.
-
Stitch out the design on a scrap piece of fabric first to verify that the design stitches out perfectly. If not changes can be made to the design using the .blf file format.
-
At the Embroidery Machine:
-
Hoop the stabilizer in the 5” x 7” hoop. Spray the hooped stabilizer with the temporary spray adhesive.
-
Place a Positioning Sticker on the center of the printed template.
-
Pin the template to the center of the dress front as desired.
-
Place the dress in the hoop with the template close to center and finger press smooth.
-
Select the Positioning icon to find the Positioning Sticker.
-
The design will move according to the placement of the sticker. Remove the template and embroider the design.
-


