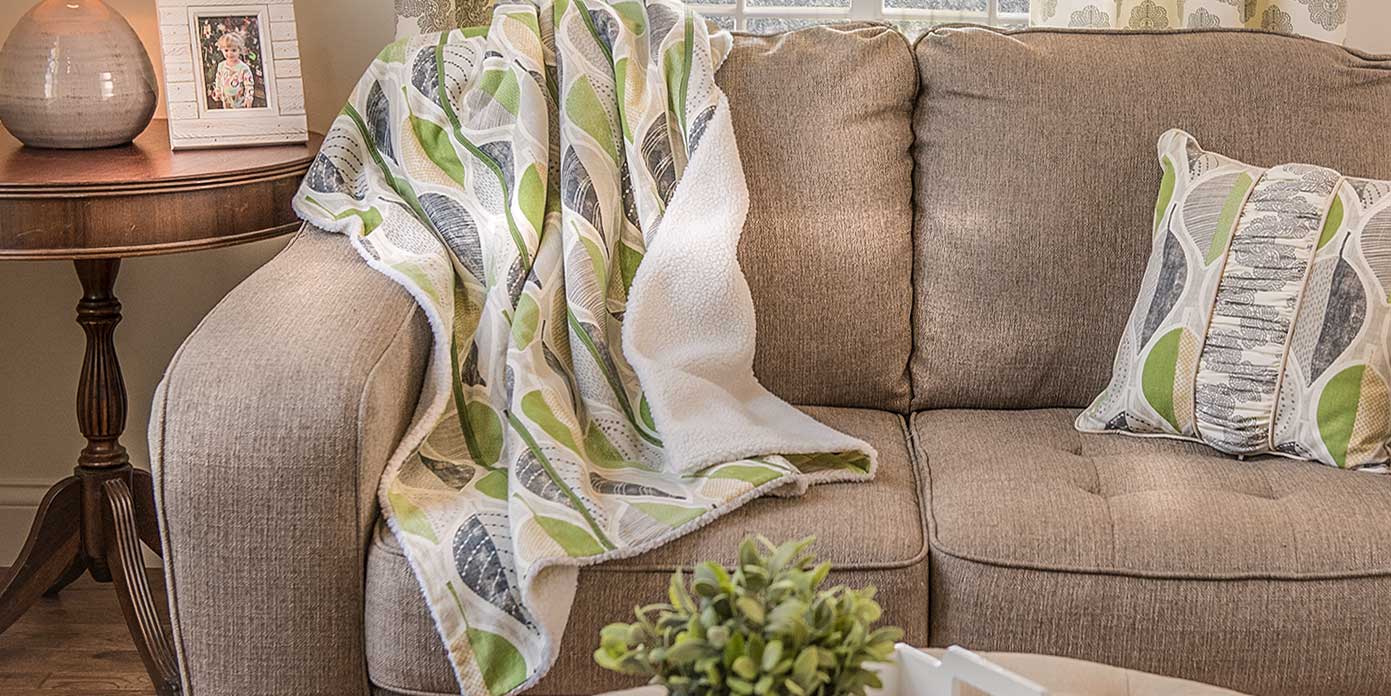
Combine your love of sewing and serging into one simple and cozy blanket! Use your sewing machine to apply the binding strips to the blanket which will hold the blanket together. Choose a fabric to coordinate with your decor and you'll be snuggled up on the couch in no time! Download printable instructions.
All seam allowances will be 1/2”. The width of the home decorator fabric that was used was 45” wide; if you want a wider blanket purchase 60” wide fabric.
Blanket Approximately Size: 45” x 70”
Materials:
- 1 ½ Yards Sherpa™ Fur Ivory from Shannon Fabrics™ for backing
- 2 Yards of home decorator fabrics for blanket front
- Madeira® beige serger threads (4 spools)
- Madeira clear Invisible thread
- Wonder Clips™
- Basic sewing supplies
Tools:
- Baby Lock® Triumph or Accolade Serger
- Baby Lock sewing machine
- Baby Lock Belt Loop Binder ¾” (BLE8-S12)
- Clear foot (BLE8-CLF)
Steps:
-
Cut each of the Sherpa™ Fur fabric and the home decorator fabric (45” x 72”).
-
Set up the Baby Lock serger for a 4-Thread Overlock Stitch. With this stitch you will only use the needles 01 and 02. Thread the machine.
-
Set the length to 2.5.
-
Set the Width to 7.5
-
Set the Stitch Selector to A.
-
Set the Wave Selector to Overlock.
-
Blade should be in the up position.
-
You can also adjust the Differential Feed to a lower number (0.6 or lower).
-
-
Put together two scraps from each of the fabrics and test serge to determine the accuracy of the stitch and to verify how the two fabrics feed together.
-
Tip: If the fabrics do not feed at the same speed adjust the pressure on the presser foot by turning a quarter to the left to loosen the pressure on the pressure foot knob.
-
-
With the right sides of the fabrics facing clip the Wonder Clips to the edges around the blanket to hold in place while serging.
-
Serge around the outer edges of the blanket cutting the thread at each corners. Remove the clips as you go. Leave a 12” opening on one of the sides for turning out
-
-
Clip the corners and turn the blanket so that rights sides are out. Push out the corners to create square corners.
-
Hand-stitch the opening closed.
-
Cut 1” wide strips by the 72” length.
-
Set up the serger for Cover Stitch Wide:
-
Insert the needles into C1 and C3.
-
Set the length to 3.00
-
Set the tension to 5.
-
Use the Chain Looper Tension Cover.
-
Set the upper looper to the down.
-
Lock the blade in the down position.
-
Attach the sewing table.
-
Thread the machine using three serger threads to coordinate with fabric.
-
Attach the Clear Foot to the serger. It is easier to see what you are doing with this foot. You can also use the standard serger foot that comes with the machine.
-
-
Feed the fabric strip with right side of fabric facing upward into the Baby Lock Belt Loop Binder ¾” attachment.
-
Push the fabric strip through the belt loop binder so that the needles catch the fabric under the presser foot. For best results the first stitches should penetrate the fabric.
-
Attach the Belt Loop Binder to the machine by attaching the screws to the Sewing Table.
-
Make adjustments to the foot placement by moving the foot along the open slots while tightening the screws to secure. The fabric should be centered in front of needles C1 and C3.
-
Make adjustments as needed. Use a small scrap of fabric for testing the stitch and to be sure that the raw edges are caught on the backside of the section
-
Sew your first strip. Go at a medium speed while guiding the fabric into the binder and slightly cupping the strip as it enters the binder foot. Make 5 strips 72” long.
-
-
Set up the Baby Lock sewing machine for straight stitch sewing. Thread the machine with the invisible thread on the top and in the bobbin.
-
Find a reference point for placing the binding strips on the blanket or place the strips seven inches apart from each other. Pin the strips in place.
-
Stitch along both edges on each of the strips to attach the belt loop binding sections to the blanket.
-
Turn the ends under at each of the end points and stitch across the ends to secure.


