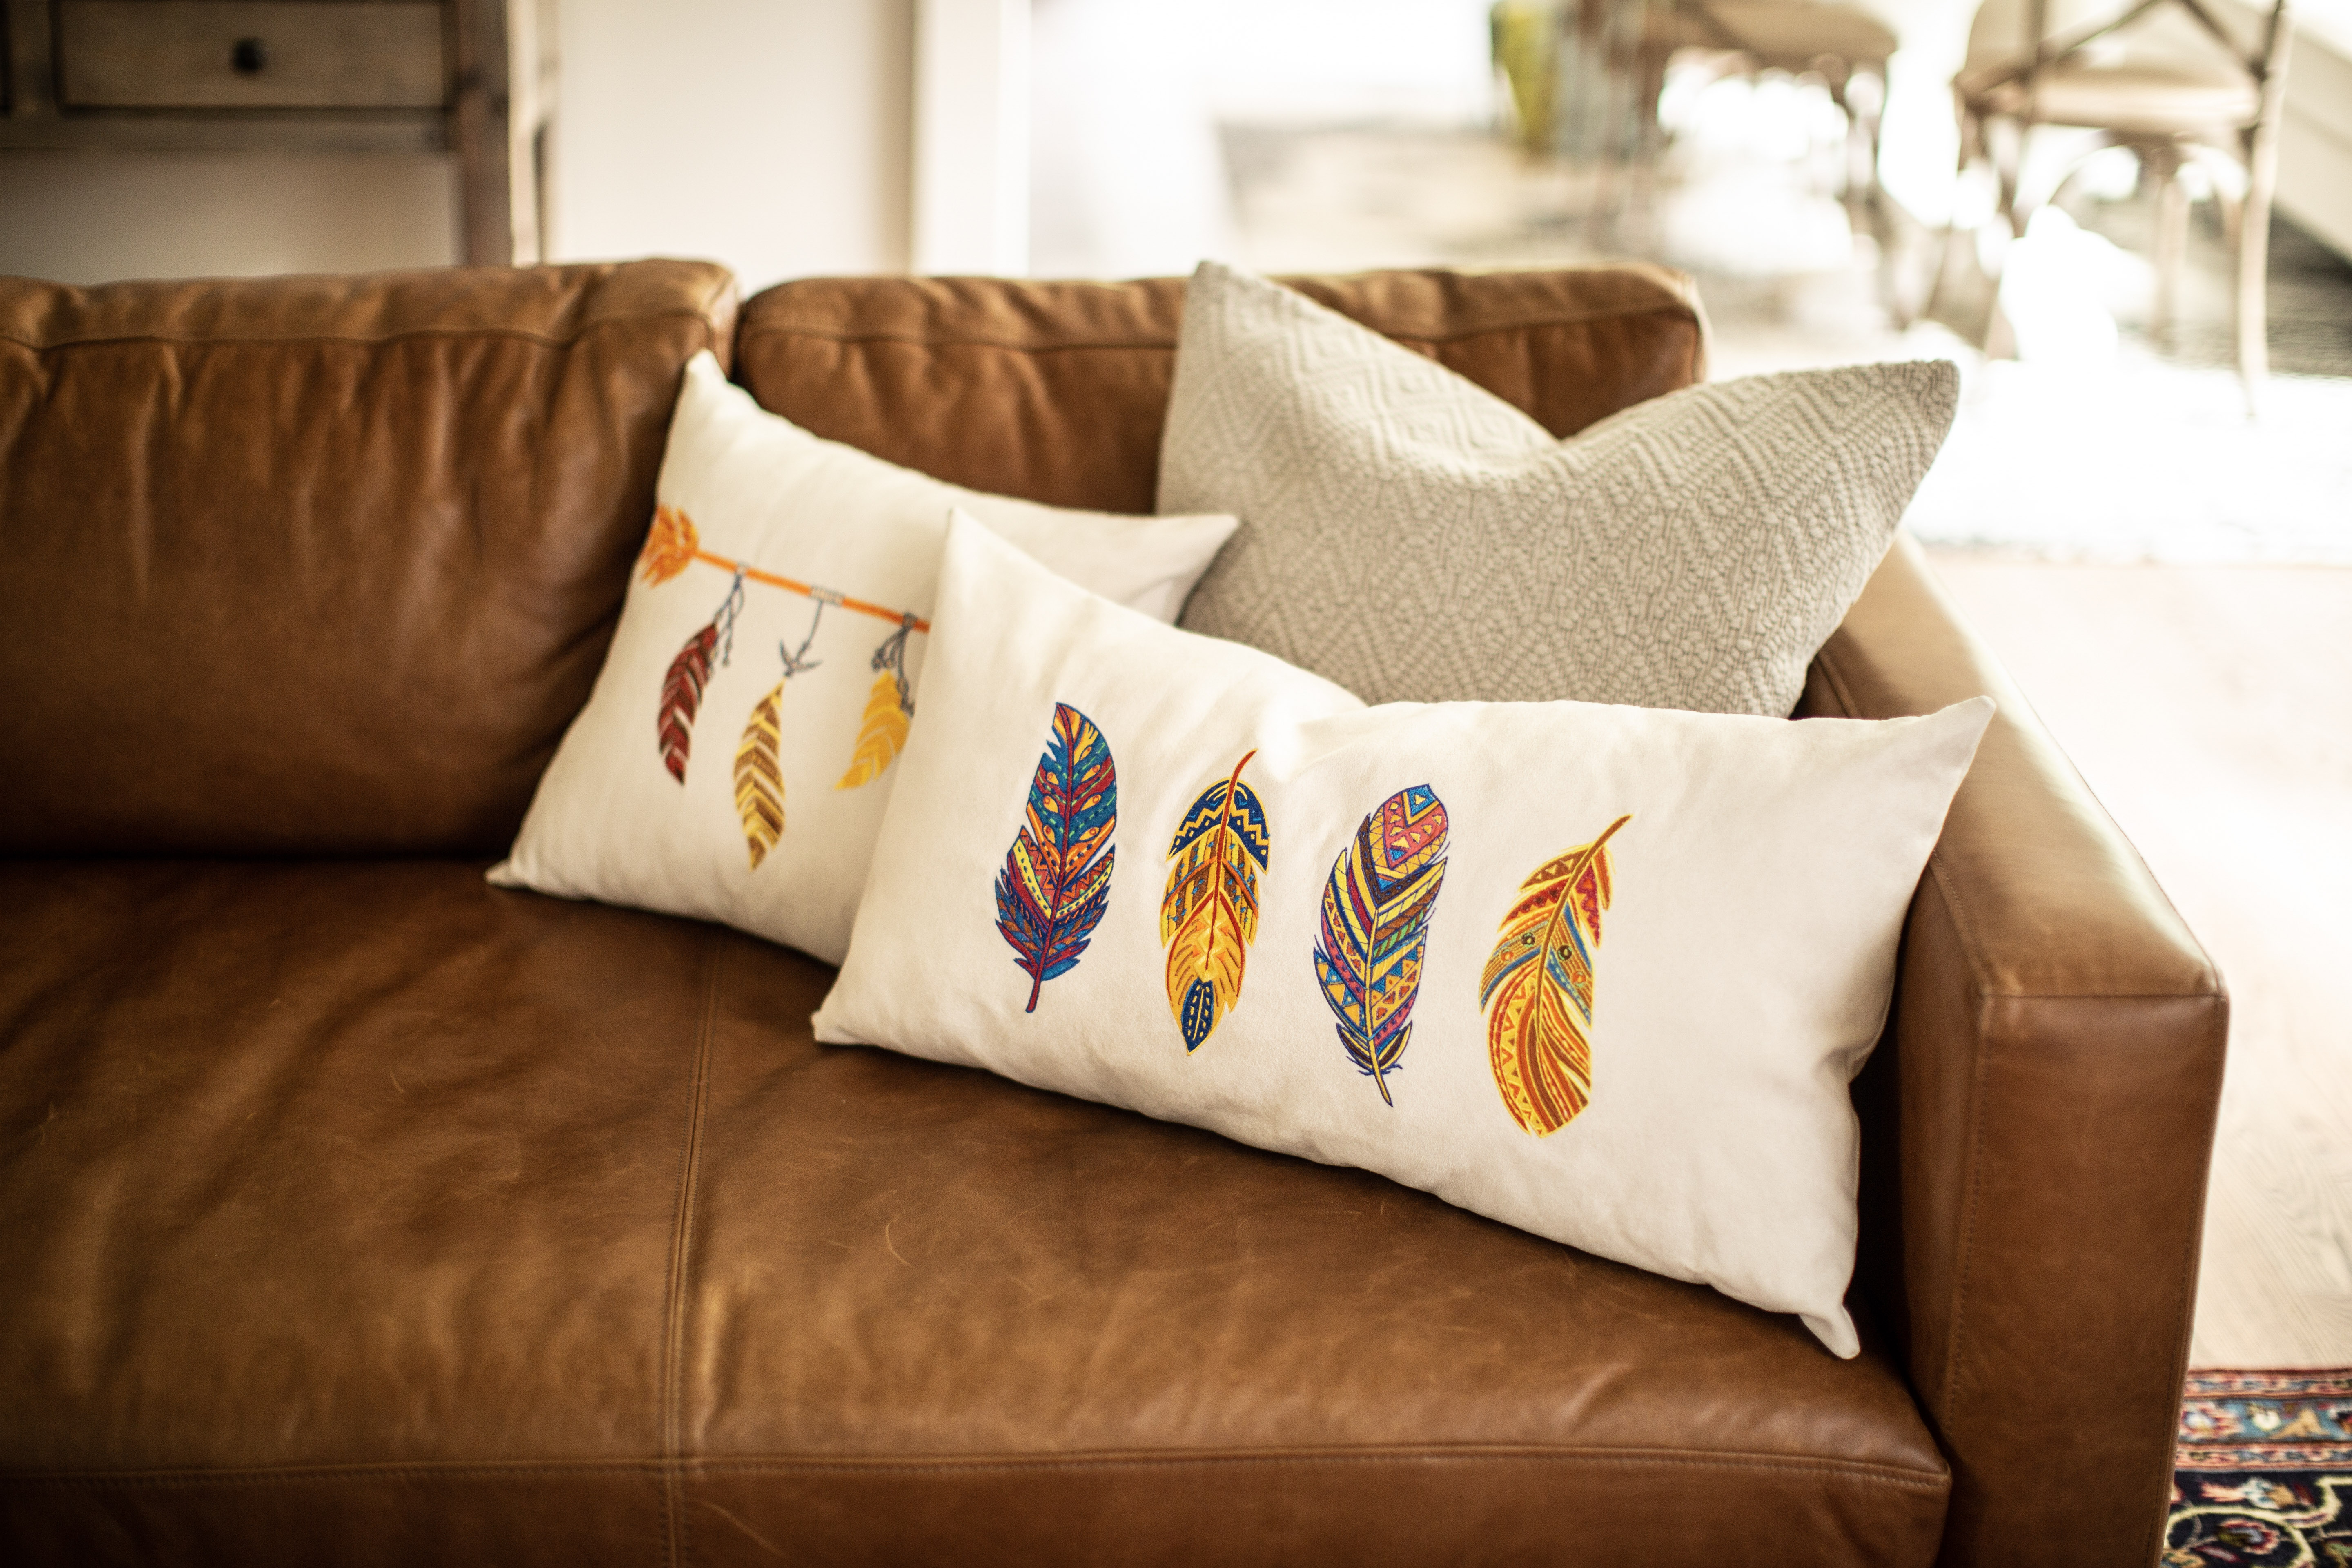
If you are looking to add an update to your living room try making these embroidered pillows. The feathers are exclusive designs to the Baby Lock Solaris and with the Color Visualizer you can choose the right colors to match your home décor before you start embroidering! Download printable instructions.
Materials:
- 10-5/8” x 16” Embroidery hoop
- 1 Yard of home decorator fabric
- Madeira® embroidery thread
- Madeira sewing and quilting thread
- Baby Lock Tear-Away Soft Stabilizer
- 12” x 24” Pillow form
- Basic sewing and embroidery supplies
Tools:
Steps:
-
From the fabric cut out two sections that measure 13” x 25”. One will be used for the pillow front and the other for the back.
-
Cut one piece of Baby Lock Tear-Away Soft Stabilizer the same size as the pillow front.
-
Hoop the stabilizer along with one piece of the 13” x 25” fabric. Center the fabric in the hoop.
-
Set up the machine for embroidery:
-
Wind several bobbins using the Finishing Touch Thread that comes packaged with the machine.
-
-
Place the hoop onto the embroidery unit.
-
To retrieve the design follow the next set of steps:
-
Click on the Embroider option on the opening screen
-
Select Exclusives.
-
Select the Heritage category.
-
Then select design 002. The designs that were used in the pillow are designs 002 003 004 and 005.
-
Click on Set to place the design on the workspace.
-
Click on Edit.
-
Click on the Color Chip icon.
-
Then click on Color Visualizer chip.
-
For each of the feathers choose a different color option for this feather we will use random. Click on the Random option.
-
Once in this field click on Auto. The screen will populate random color options. Refresh to view various color choices. Decide on the colors you would like to use and select.
-
Rotate the design 90˚ and place it on the top portion of the hoop
-
Repeat for the other three designs to recolor them. But with each of the other designs use the other options (Vivid Gradient and Soft).
-
-
Retrieve the other feathers one at a time by clicking on Add
-
Using single thread color (white) embroider the remaining quilt blocks.
-
Rotate the next feather design 90˚ to the left then on the next 90˚ to the right and ending with the last design rotated 90˚ to the left.
-
Be sure to center the designs in the hoop.
-
Use the Projector for placing the designs equally spaced apart.
-
Click on OK.
-
Click on Embroidery.
-
Embroider the design using the chosen thread colors.
-
-
Press the embroidered section well.
-
Set up the machine for sewing.
-
Select a straight stitch center position.
-
Snap on the “J” Foot to the machine.
-
Thread the machine with a thread color that matches the pillow.
-
-
With right sides together place the two sections together.
-
Using a ½” seam allowance sew around the outer edges of the pillow while leaving an 8” opening for turning and inserting the pillow form.
-
-
Insert the pillow form.
-
Hand-stitch the opening closed.


