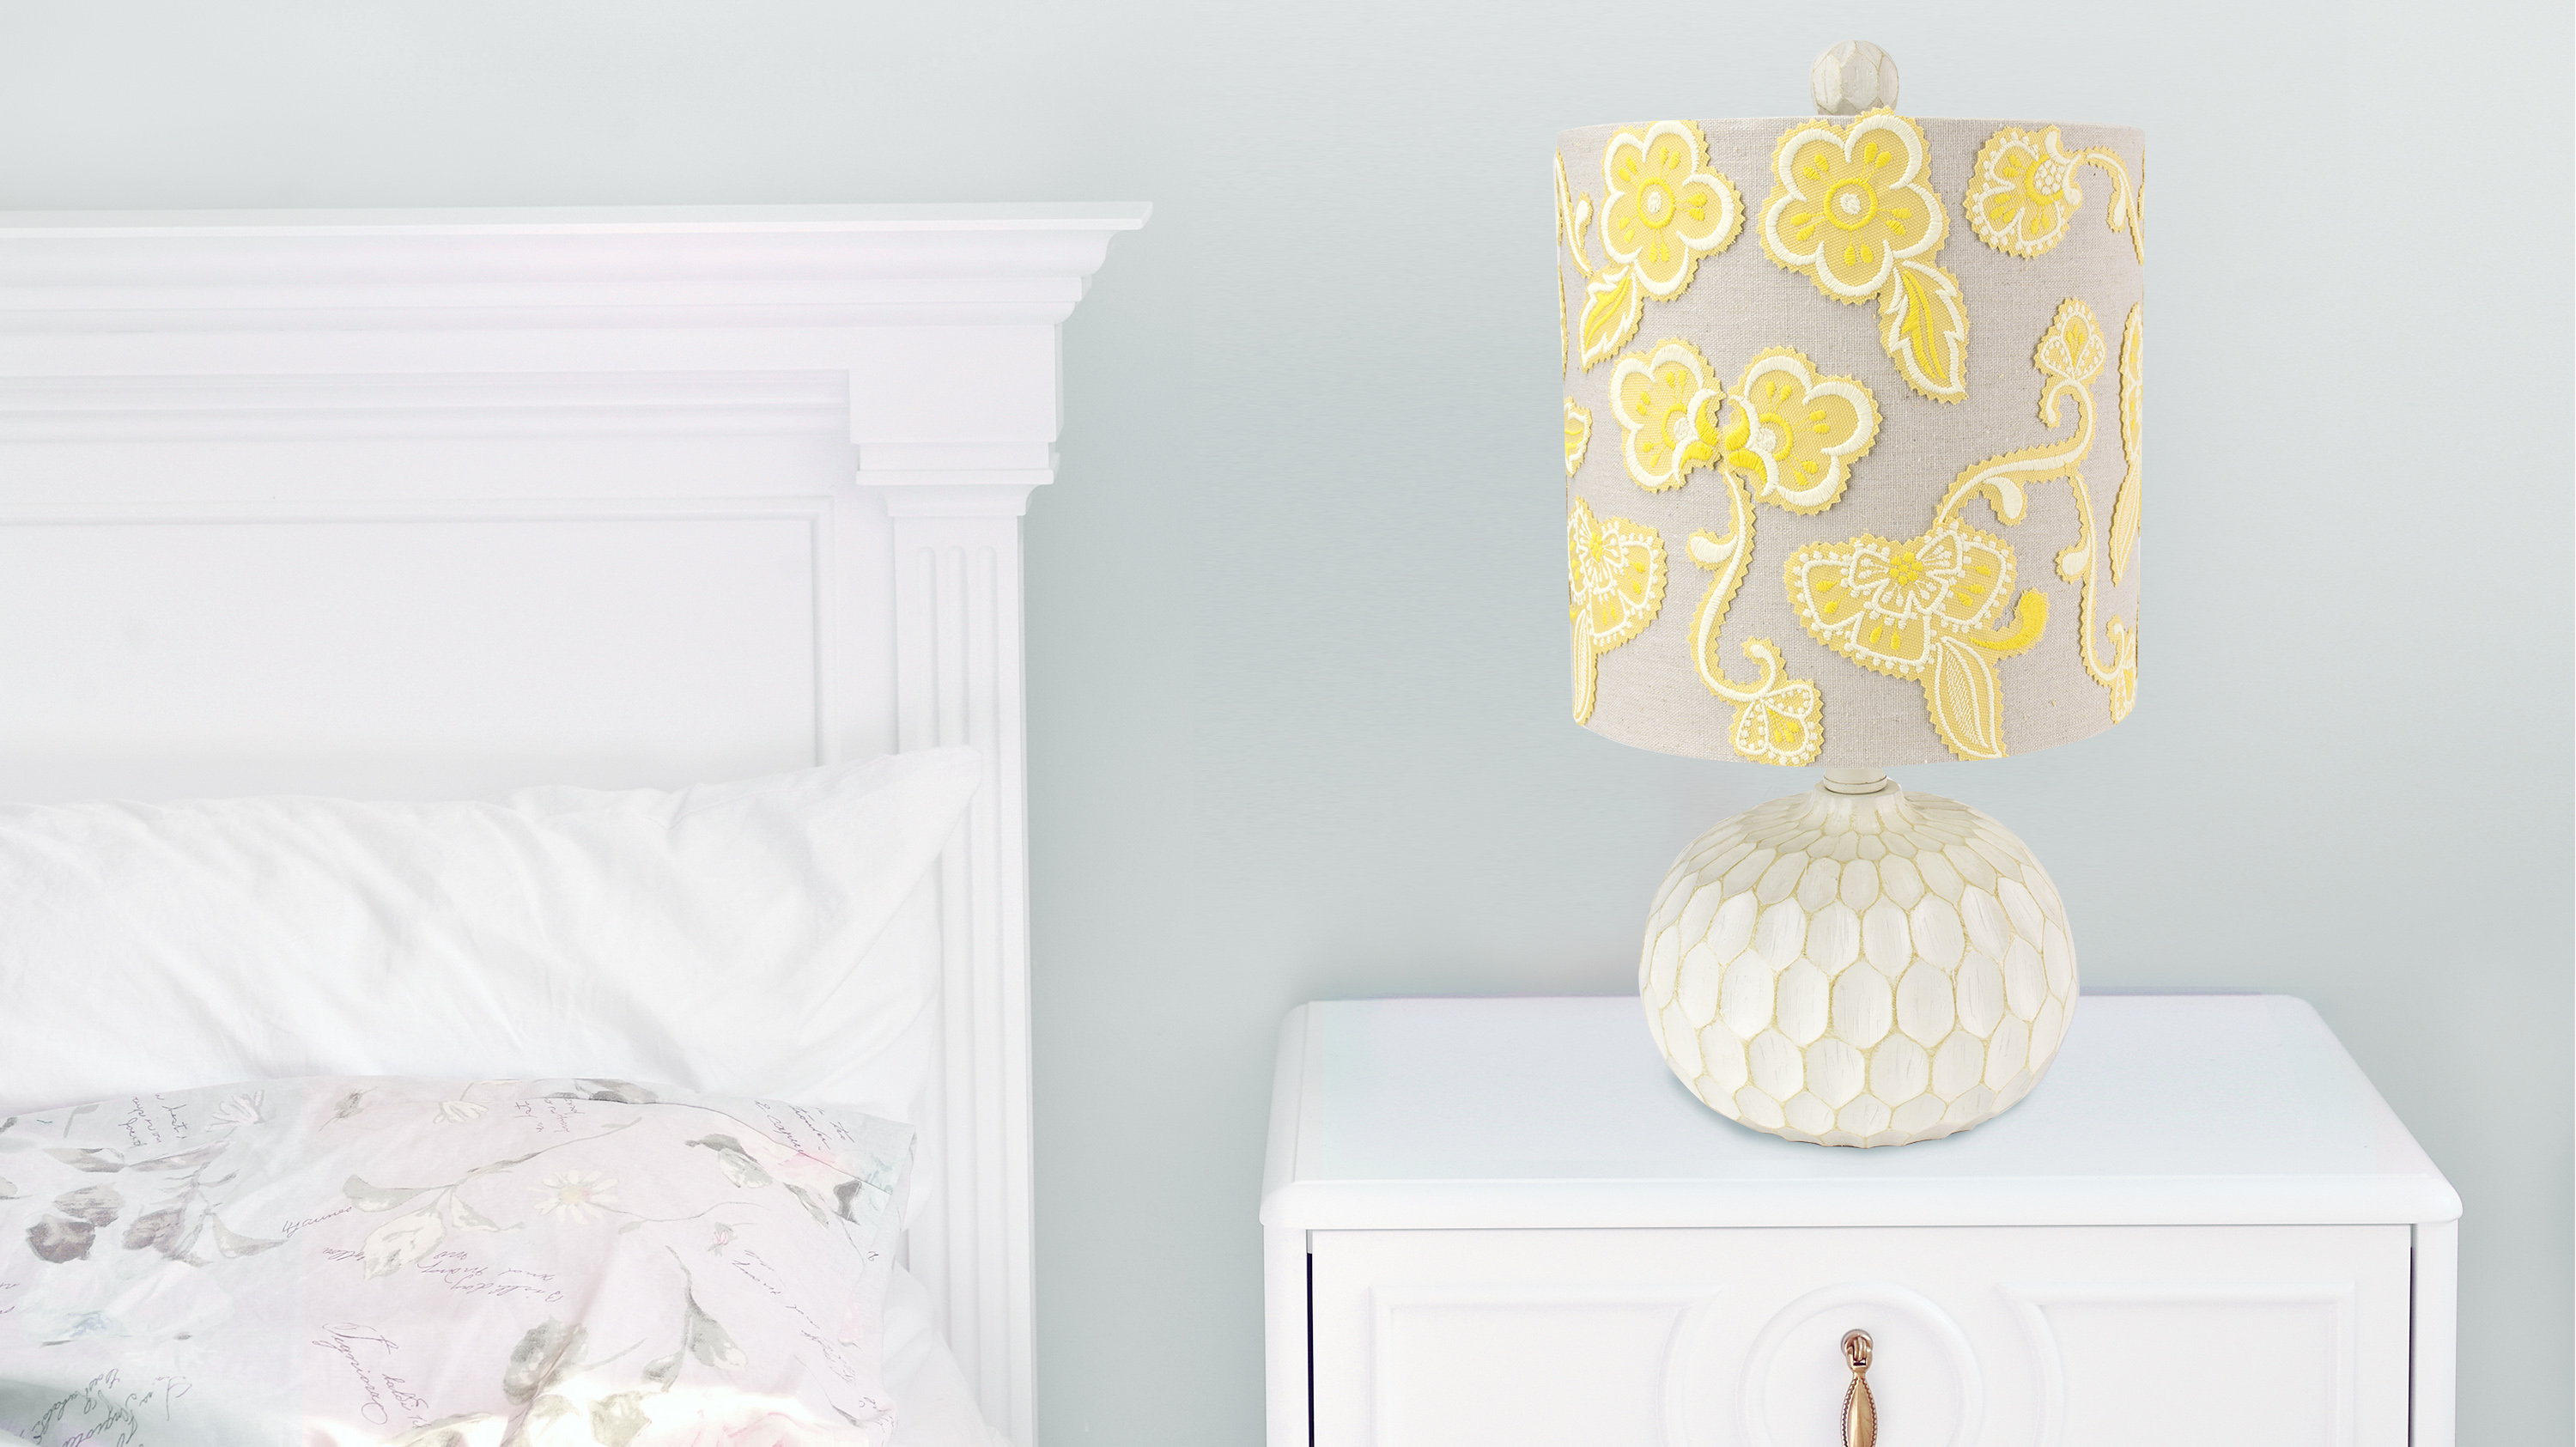
Brighten up any room with this cheery lampshade. Amazing Design's Classy Floral Crewelwork Collection will add a handmade touch to any store-bought lampshade to give your home the elegant and custom look you've been wanting!
Materials:
- 1 Yard solid colored decorator fabric (Yellow)
- Baby Lock Tear-Away Soft Stabilizer
- Madeira® Matt embroidery thread
- Double stitch tape
- Double stick tape
Tools:
- Baby Lock Embroidery machine
- Pinking Shears
- Fabric Glue
- Amazing Designs Classy Floral Crewelwork Collection (ADC198) or similar designs
- General sewing supplies
Steps:
-
Determine the designs to be used on the shade
-
We used Amazing Designs Classy Floral Crewelwork collection designs CFC112 CFC118 CFC123 CFC129 CFC130 CFC131 CFC132 CFC133 and CFC134.
-
We used Amazing Designs Classy Floral Crewelwork collection designs CFC112 CFC118 CFC123 CFC129 CFC130 CFC131 CFC132 CFC133 and CFC134.
-
-
Download the designs to a USB thumb drive
-
Set up the machine for embroidery
-
Using the largest hoop hoop the yellow fabric and the tear-away stabilizer.
-
Attach the hoop to the machine
-
Retrieve the first design from the USB thumb drive and follow the next set of steps:
-
Set the design. More than one design can be added within the same hoop.
-
Click on Add and retrieve another design on the workspace.
-
Move each of the designs toward the upper portion of the hoop with even spacing between the designs. The designs should not touch.
-
Click on Add and retrieve another design
-
Move the design
-
Repeat until you have filled the hoop.
-
Note: we embroidered 26 designs for this project based on the size of the lampshade.
-
-
Embroider the designs using two different shades of yellow. (medium yellow & light yellow)
-
Note: The centers were embroidered using the medium yellow and the outer edges used the light yellow thread.
-
-
Remove the embroidery from the hoop.
-
Repeat these steps until you have enough embroidered designs.
-
Gently tear the stabilizer away from the design
-
Use the pinking shears cut around each of the designs.
-
Determine the lay out of the design on the shade
-
Place a small piece of double stick tape on the back of each of the designs and press in place.
-
Move them around until you have created the perfect look where all of the designs are placed perfectly
-
Place the designs around the entire shade.
-
-
Once the layout has been determined take the individual designs off the shade and apply glue to the backside of the embroidered design sections.
-
Press the glued design back into the same position
-
Hold to secure the design until it is set
-
Repeat for the remaining designs until the entire shade has all of the designs glued in place.
-
Once the designs are glued you are free to use the lamp with its newly decorated shade
-


