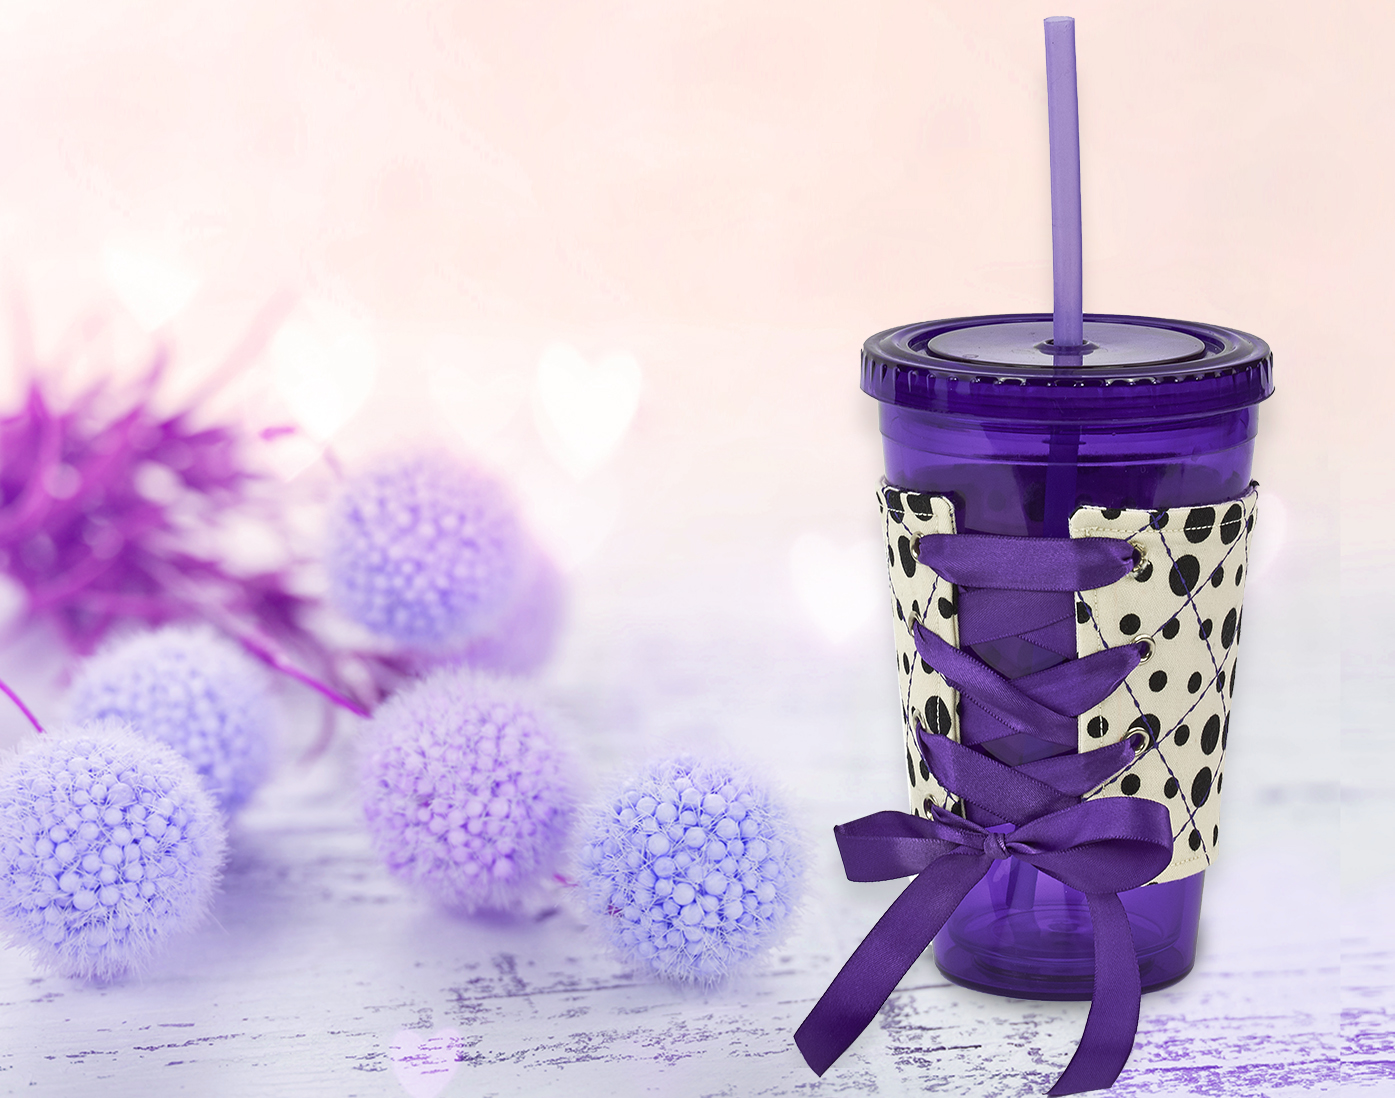
Mom’s favorite cup will get a fashion boost when she uses handmade koozie! Create this special quilting project from her favorite patterned fabric and ribbon color. Cinched together like a corset this koozie is a Mother’s Day gift she’ll love to show off to her friends. Download printable instructions.
Materials:
- Attached template (print at original size)
- 1 fat quarter
- Madeira quilting thread
- Eyelets and eyelet pliers
- 1/2-inch-wide ribbon
- Frixion marking pen
- Cup or tumbler
- Rotary cutter and mat
- Basic sewing supplies
Tools:
- Baby Lock sewing machine
- Baby Lock Cut-Away Ultra Soft Stabilizer - Model# BLC204
Steps:
-
For the exterior of the koozie cut a section from the fat quarter that measures 8.5” x 11” and a section from the stabilizer the same size.
-
Fuse a piece the stabilizer to the wrong side of the exterior section.
-
On the outside of the front section draw diagonal lines 1-inch apart using the Frixion marking pen.
-
Rotate the section and repeat drawing placing lines in the opposite diagonal direction.
-
Note: The marks will disappear when you press with a hot iron.
-
-
Set up the machine for sewing. Select the desired decorative stitch. Thread the machine and wind a bobbin.
-
Using the placement lines as your guide stitch over each of the lines.
-
Using the attached Koozie Template cut out two sections from the fat quarter fabric: one from the quilted fabric and one from an unstitched section.
-
Note: if your glass is larger or smaller adjust the size of the template as needed)
-
-
With right sides together sew the sections together around the outer edge leaving a 3-inch opening for turning. Trim the corners.
-
Turn right side out and press. Be sure to turn in the seam allowance for the 3-inch opening.
-
Top-stitch 1/8-inch from the edge around the entire koozie. This will secure the opening.
-
Place the template over the sewn koozie section and place four marks on each open side to establish the placement of the eyelets.
-
Tip: Use the directions found on the template for sewing and placement of the eyelets.
-
Use the eyelet pliers to punch the eyelets in place.
-
Cut a section of ribbon approximately 24 inches long.
-
Thread the ribbon through the eyelets on the koozie. Place the koozie around the glass. Tighten the ribbons and tie a bow. Trim the ribbon to finish.


