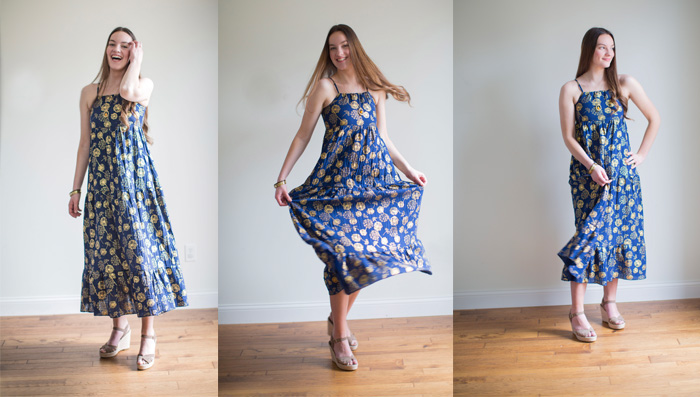
Be ready for spring with this serger ruffled dress made with double-gauze Cotton Embrace® fabric from Shannon Fabrics.
Materials:
- New Look Pattern 6466 view D
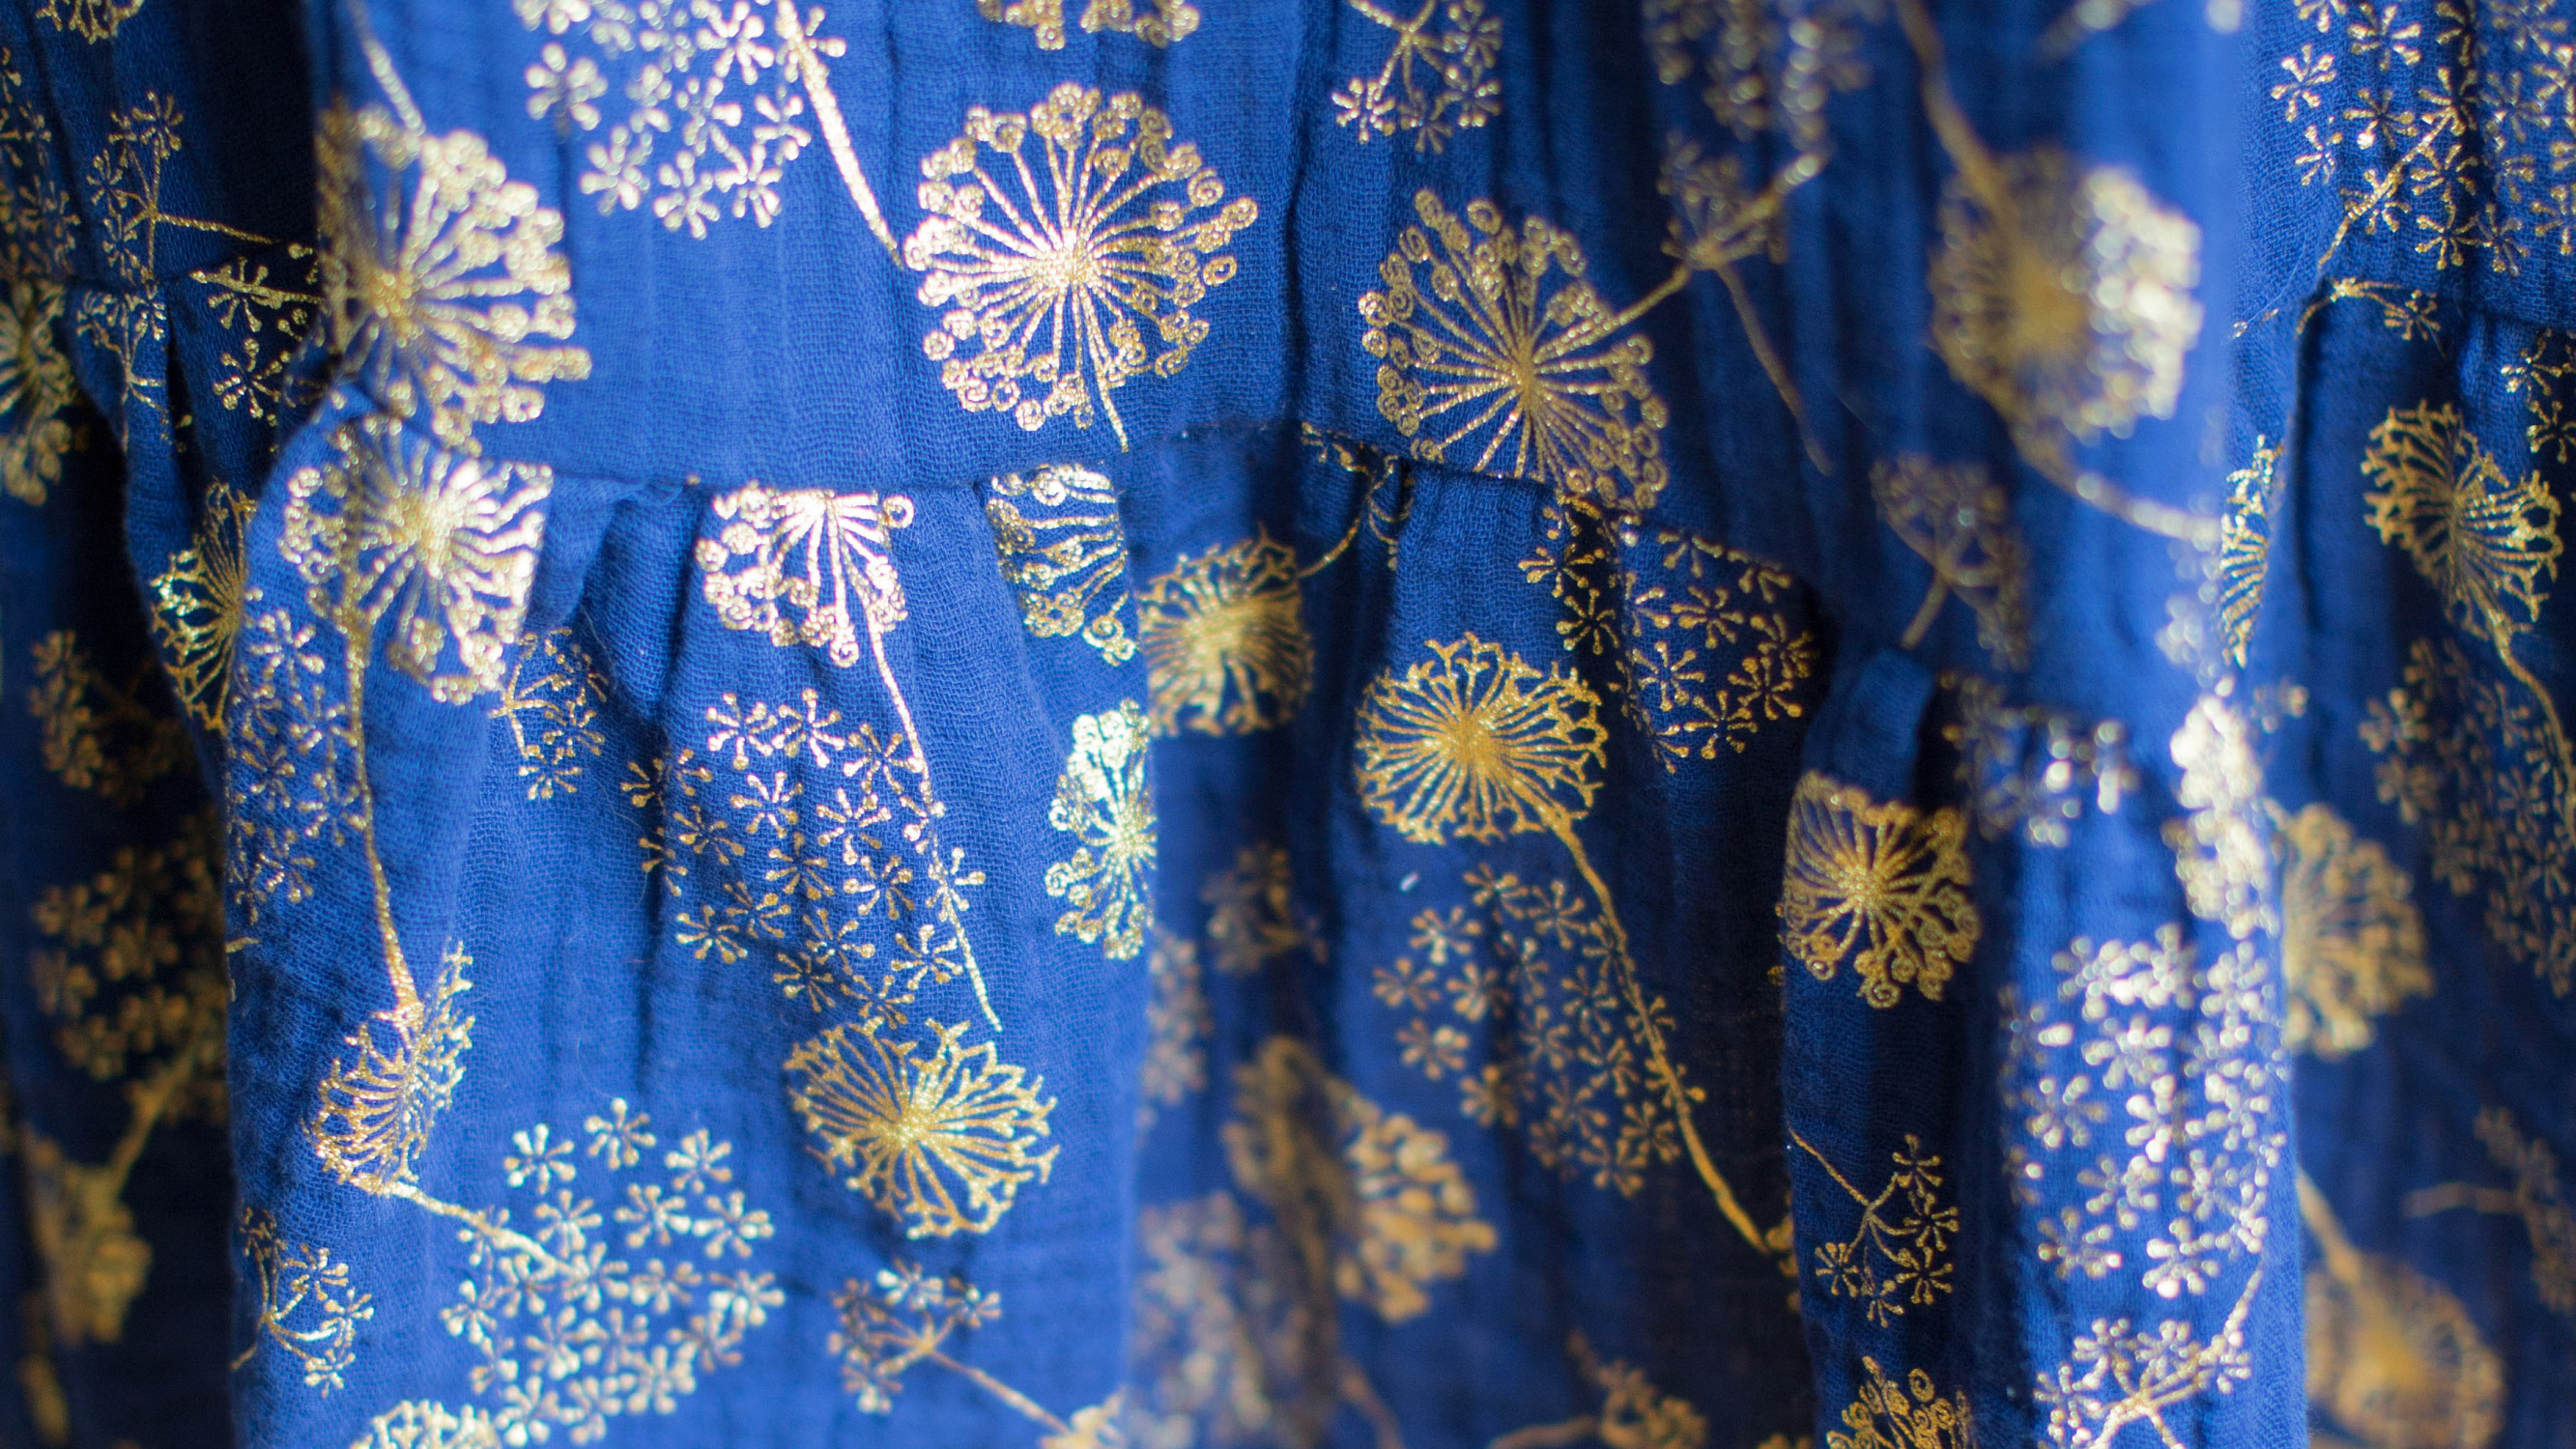
- Believe Metallic double-gauze Cotton Embrace® fabric from Shannon fabrics
- Madeira Aerolock thread
- Chalk Marker
- Basic Sewing Supplies
Tools:
Steps:
-
Locate the pieces from New Look Pattern 6466 view D.
-
Cut out the pattern pieces according to the pattern guide sheet.
-
Once the pieces are cut out transfer all pattern markings onto the fabric with a chalk marker.
-
Use the chalk marker to also mark any notches when using a serger for construction these notches can be cut off and by using chalk will can see alignment points.
-
Thread your serger for a four-thread overlock.
-
Using the seam allowance markings located on the knife blade cover – serge the seams of the bodice together as per the instruction sheet.
-
Thread the sewing machine and topstitch to create the neckline casing.
-
Serge the side seams of each ruffle tier together.
-
For the ruffle tiers attach the ruffling foot. Increase the stitch length to 4 and increase the differential feed to 2.
-
Without cutting off any seam allowance serge the top edge of each ruffle tier to gather.
-
To increase the fullness of the gathers find the two short threads in the serger tail. These short threads are the needle threads.
-
Pull the needle threads to increase the gathering.
-
Pin the first ruffle to the bodice according to the pattern guide sheet and aligning the chalk marks. Adjust gathers as necessary.
-
Once the ruffle is pinned switch back to the all-purpose foot return the differential feed and the stitch length to normal and secure the ruffle seam
-
Repeat adding ruffles.
-
Insert the zipper using the sewing machine as directed by the pattern guide sheet.
-
To hem the lower ruffle set- the serger to a 3-thread rolled hem or a 3-thread narrow hem and reduce the stitch length to 1.
-
To make the neckline cord. Serge a long strip of matching fabric and turn right side out.
-
Thread the neckline strip through the neckline casing. Try the dress on and adjust the straps accordingly.
-
Use the sewing machine to secure the cord strips to the back bodice on each side.


