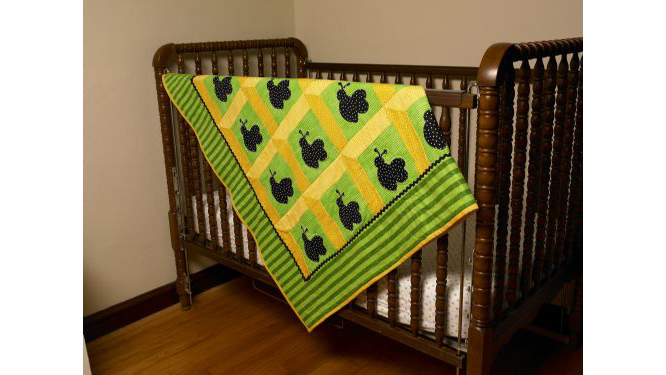
Your little one will be buzzing with excitement when he or she sees this bright cheery quilt. Perfect for a baby shower gift or for any bee lover this quilt is simple to create using the Accuquilt Go! Cutter and classic quilting techniques on a Baby Lock quilting machine. Download printable instructions.
Materials:
- Steam-A-Seam 2
- 1/2 Yard of Black mini dot fabric
- 1 Yard of green mini stripe
- 1 Yard of yellow mini stripe
- 1 Yard of yellow mini bee print
- 2-½ Yards large green strip
- 2-½ Yards yellow cotton for backing
- 60” x 45” batting
- 2 packages of black medium rick rack
- White thread
- All-purpose thread to match fabrics
- 1 Spool of Madeira monofilament thread
- Rotary cutter mat and ruler
- Marking pencil
- Pins
- Iron and Ironing board
Tools:
- Baby Lock Sewing Machine
- Walking foot
- Echo quilting foot
- Open toe foot
- Accuquilt Go! Cutter
- Accuquilt Critters die and mat
Steps:
-
Cut squares 6 ½” from the green mini stripe. You will need 20 squares.
-
Cut strips 2 ½” x 8” from the yellow mini strip and yellow bee print. You will need 20 strips of each.
-
Thread the machine with all-purpose thread.
-
Select ¼” stitch. Sew strips to sides of block stopping ¼” from the corner. Make sure the background block stripes are the same direction.
Sew strips to sides of block stopping ¼” from the corner. Use the photo for directional reference for the stripes. Make sure the background block stripes are all the same.
-
Fold the square diagonally matching the strips. Drop the needle in the previous stitch and stitch to the corner to form the mitered edge.
-
Press each block.
-
For the bees iron fusible webbing onto the back of the black mini dot fabric.
-
Cut the bee shapes from the black mini dot fabric using the Accuquilt Go! Die cutting system.
-
Position the bees in the center of the block background.
-
Once the bees are in place thread the machine with the white thread and attach the open toe foot.
-
Use an appliqué stitch to secure the bees to the blocks. Press
-
Stitch four blocks together into a row. Press. Continue until you have stitched 5 rows. Press. Sew the rows together matching the seams.
-
Press the quilt top.
-
Cut two strips 5½” wide x width of fabric from the width-wise grain of the wide green stripe.
-
Cut two strips approximately 7” wide from the lengthwise grain of the wide green stripe.
-
The side borders are cut wider to allow for matching the pattern. Once the pattern is aligned the borders will be squared off.
-
-
Using a ¼” seam sew one of the side vertical border strips to the edge of the pieced top.
-
Pin the top and bottom border strip aligning the stripes to match the vertical border strip you previously attached.
-
Stitch the top and bottom border onto the quilt stopping before reaching the opposite side of the vertical border.
-
Align and pin the other vertical border so the stripes match the horizontal borders. Pin in place.
-
Attach the vertical border. Trim off the excess seam allowance if needed.
-
-
Then finish the seams that attach the top and bottom horizontal borders to the quilt. Press
-
Square off the borders so the horizontal and vertical borders are even in width measurement.
-
Layer the quilt with backing right side down then batting and the pieced top right side up. Pin to keep the layers from shifting.
-
Thread the machine with the monofilament thread.
-
Use the walking foot to stitch in the ditch along the attic window blocks.
-
Attach the free-motion echo foot and drop the feed dogs to quilt around the appliqué bees.
-
Quilt the border by repeating the bee shape several times.
-
To bind the quilt carefully trim the excess batting without cutting the backing fabric.
-
Measure and cut off the excess backing leaving 1¼” from each edge of the pieced top.
-
Fold the raw edge of the backing fabric in towards the quilt. Then fold the backing over once more encasing the edge of the quilt. Press and pin place.
-
Fold and tuck the fabric at the corners to create mitered corners. Press and pin in place.
-
Using an open toe foot appliqué stitch and a matching thread stitch along the fold securing the edges.
-
With the quilting and binding complete add a little extra charm to the quilt with rick rack.
-
Raise the feed dogs and stitch the rick rack to the border with the echo foot.


